Finishing Touches

For awhile, I’ve wanted to explore the use of Lisa Pavelka’s, UV resin Magic-Glos  https://www.youtube.com/watch?v=nSQZQXp5L1k and polymer clay.  The pieces discussed below were cured in the sun.

Polymer Clay Jewelry_1

The above piece details the use of elements from a Mokume Gane block which consisted of three different types of polymer clay.  I especially like the effect of white glitter polymer clay.

Polymer Clay Jewelry #2_1The next piece shows the effects of working with ink dye and metallic leaf.  I plan on doing another layer of resin on both pieces tomorrow.

Over Under Over Under

Before I begin my blog post about my latest happenings with polymer clay, I am so excited to share some fantastic news.  Today, I made reservations to attend Vogue Knitting Destination getaway in September at The Falls Inn and Spa in Ontario, Canada. “Vogue Knitters will get an inside look at the famous Koigu dye house to explore and experience all things Koigu.”  Moving on…

Falls Inn and Spa

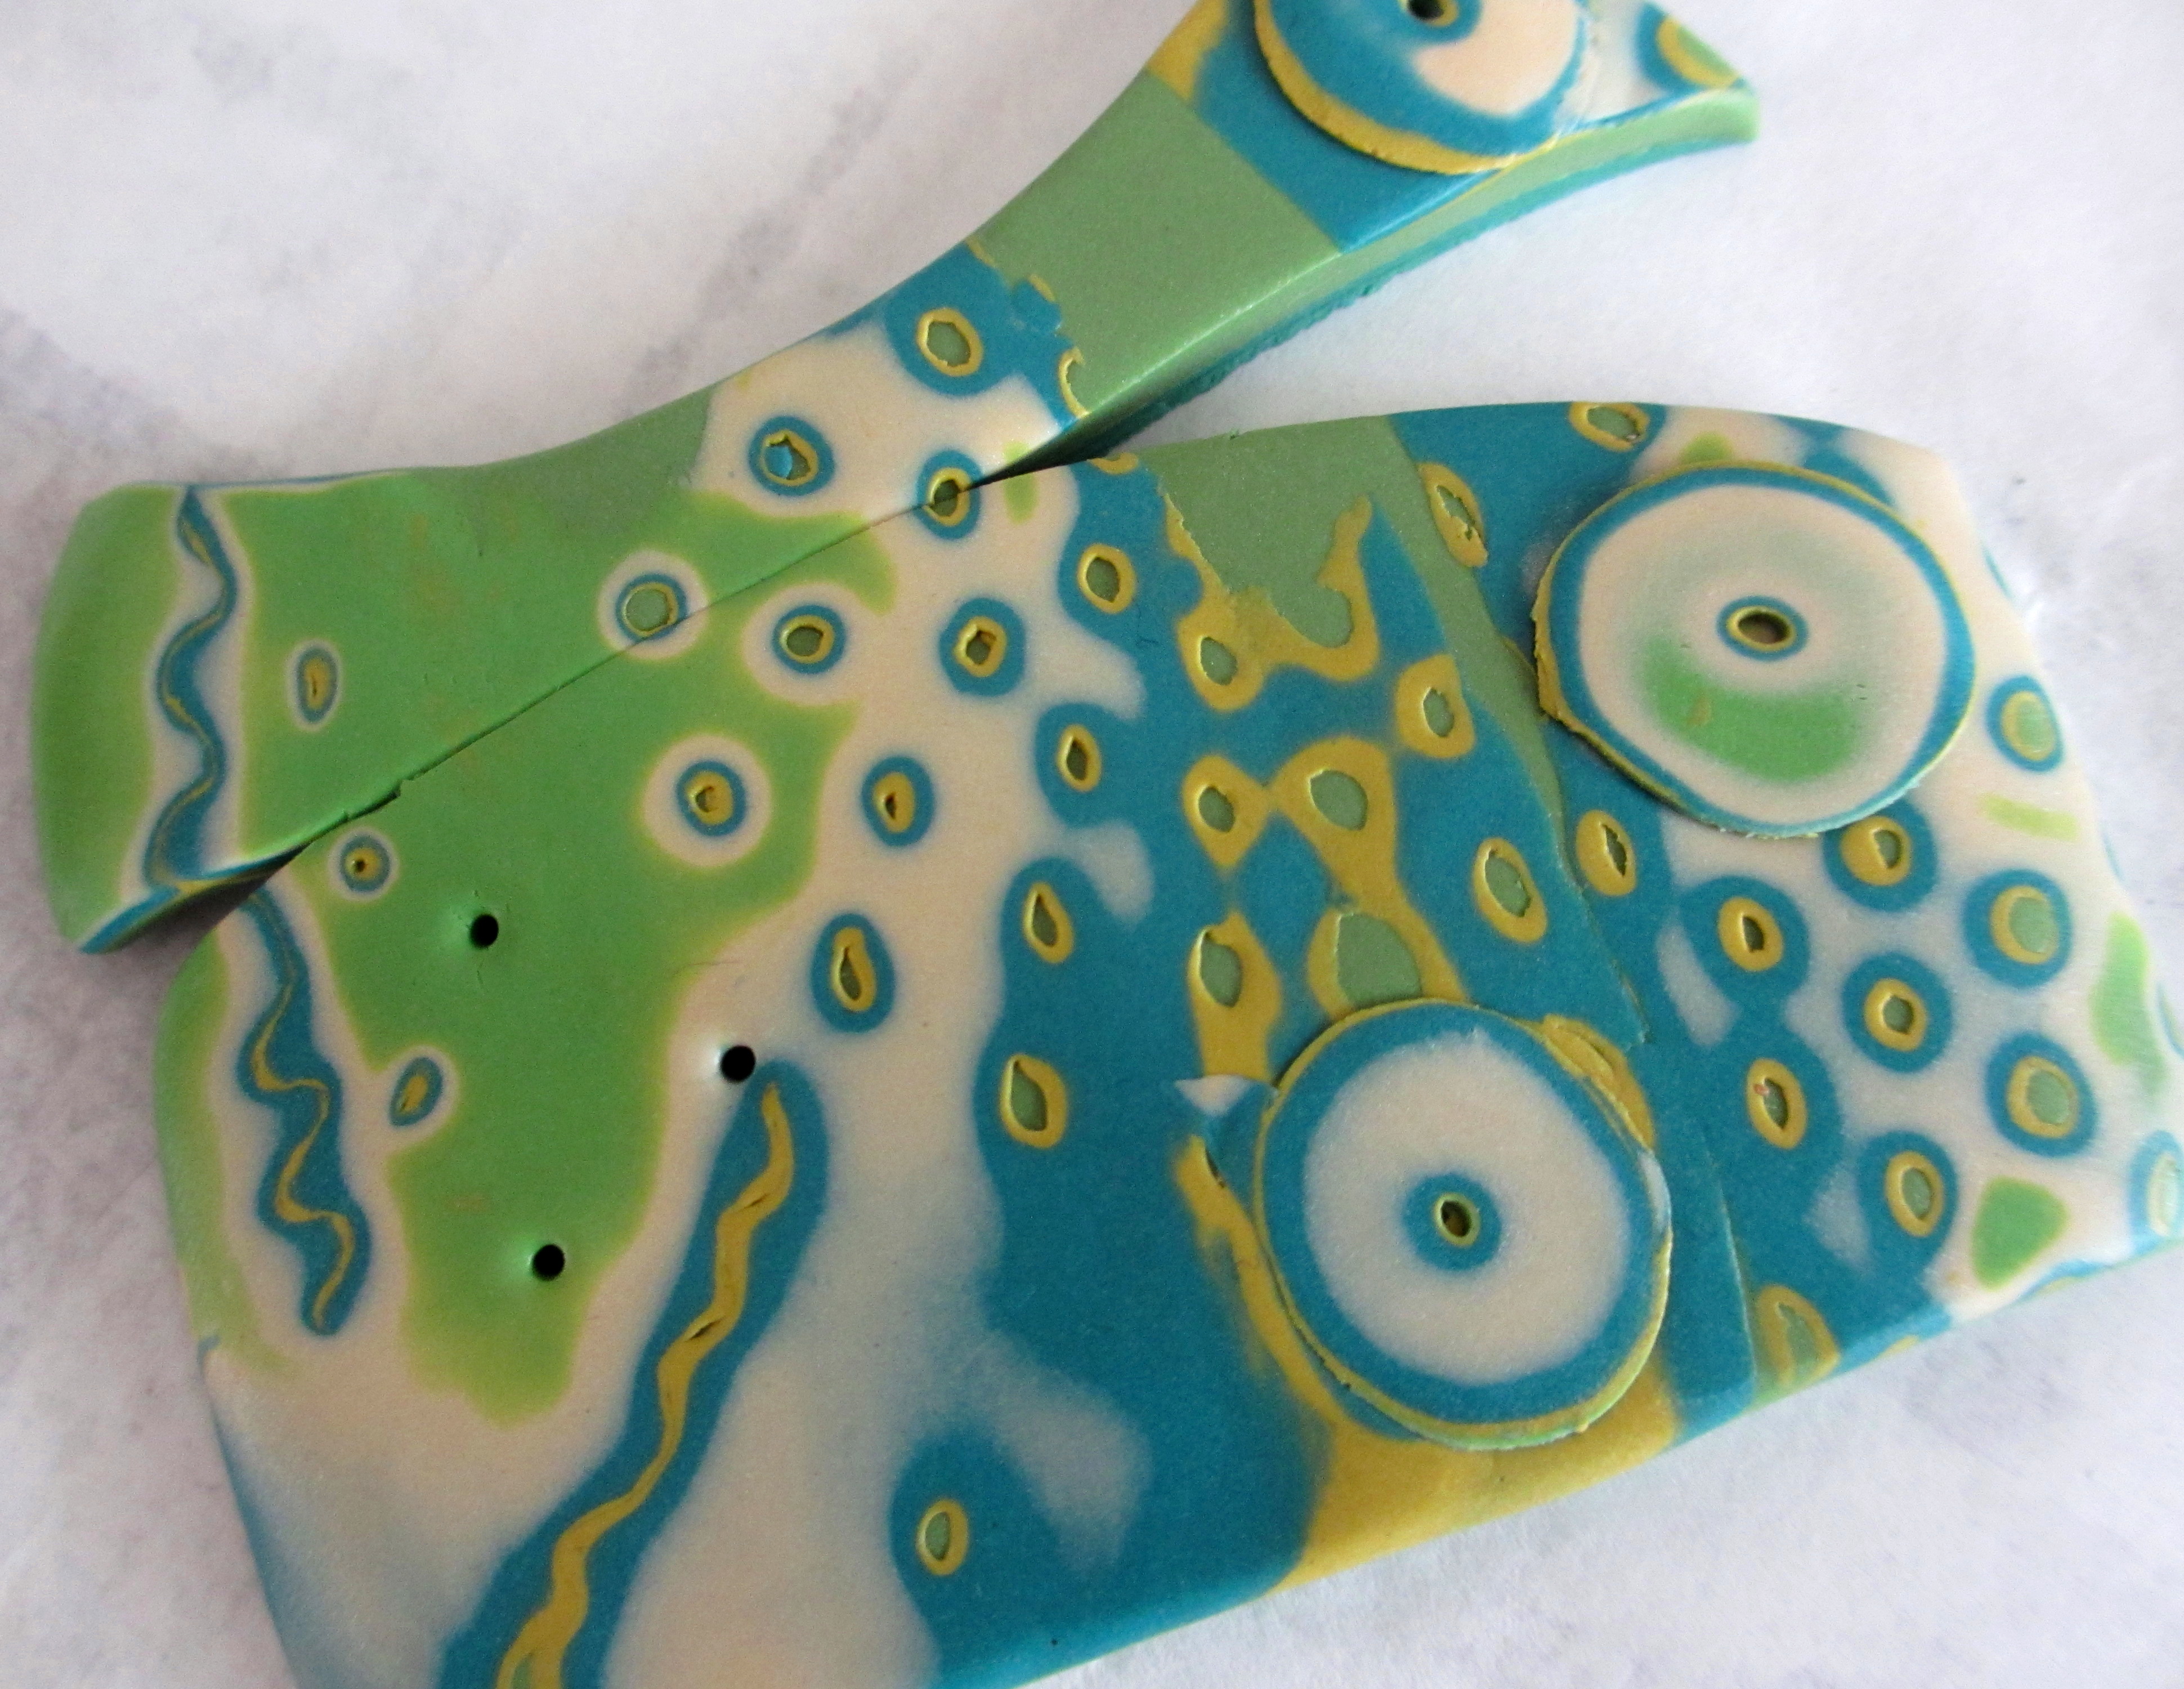
In a February 1995 issue of Bead & Button, Lindly Haunani demonstrated her version of Mokume Gane.  In my polymer clay past life, this article was one of the first examples of combining layers of silver leaf with translucent clay along with very small amounts of colored clay mixed in to enable the cracking of the silver leaf to show through.  Thin slices were used to make collages on a base of transparent clay.

polymer clay buttons

Here are a few of my vintage polymer clay buttons using Lindly Haunani’s technique.

The realm of possibilities has grown by leaps and bounds in the world of polymer clay, alcohol inks are being used in conjunction with metal leaf and translucent clay. The discussion below briefly describes my experience with leaf and ink dye.

Metal Leaf and Alcholic Dyes

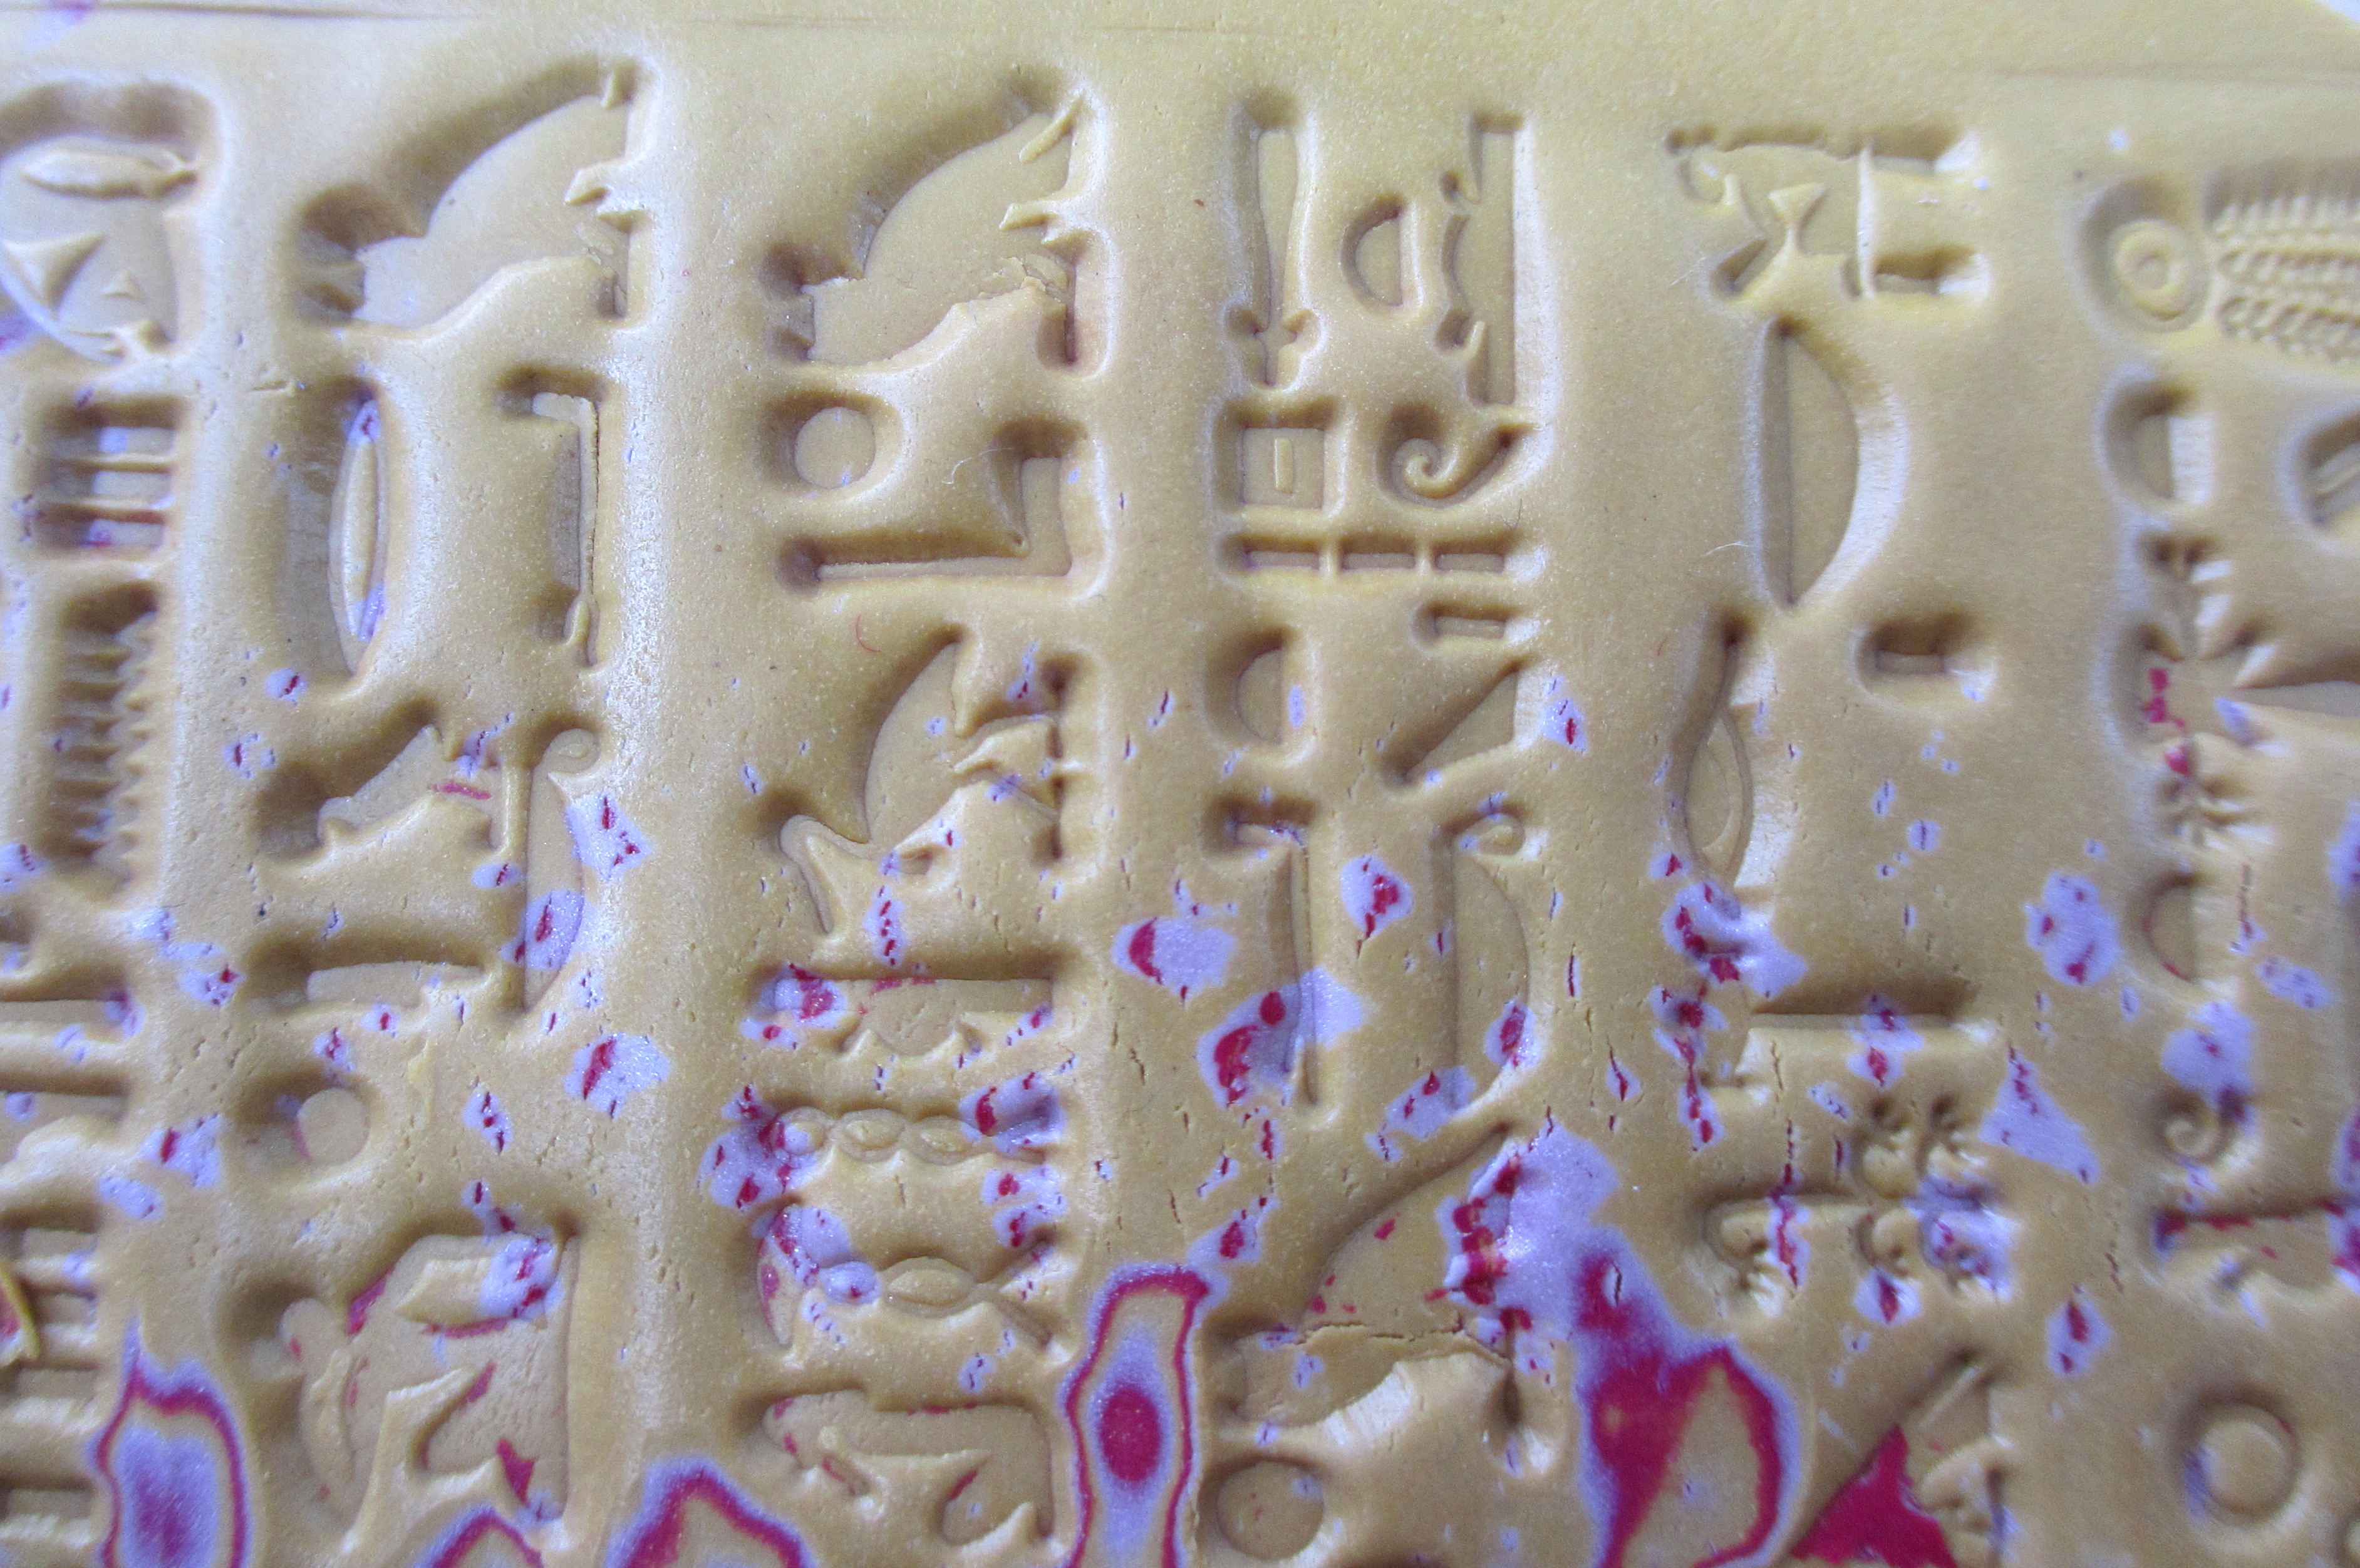
After the alcohol ink dried, the variegated copper leaf was sandwiched between layers of translucent clay and incorporated into sheets of colored polymer clay.  Tools were used to imprint the stack.

Metal Leaf and Alcohol Dyes 2_1

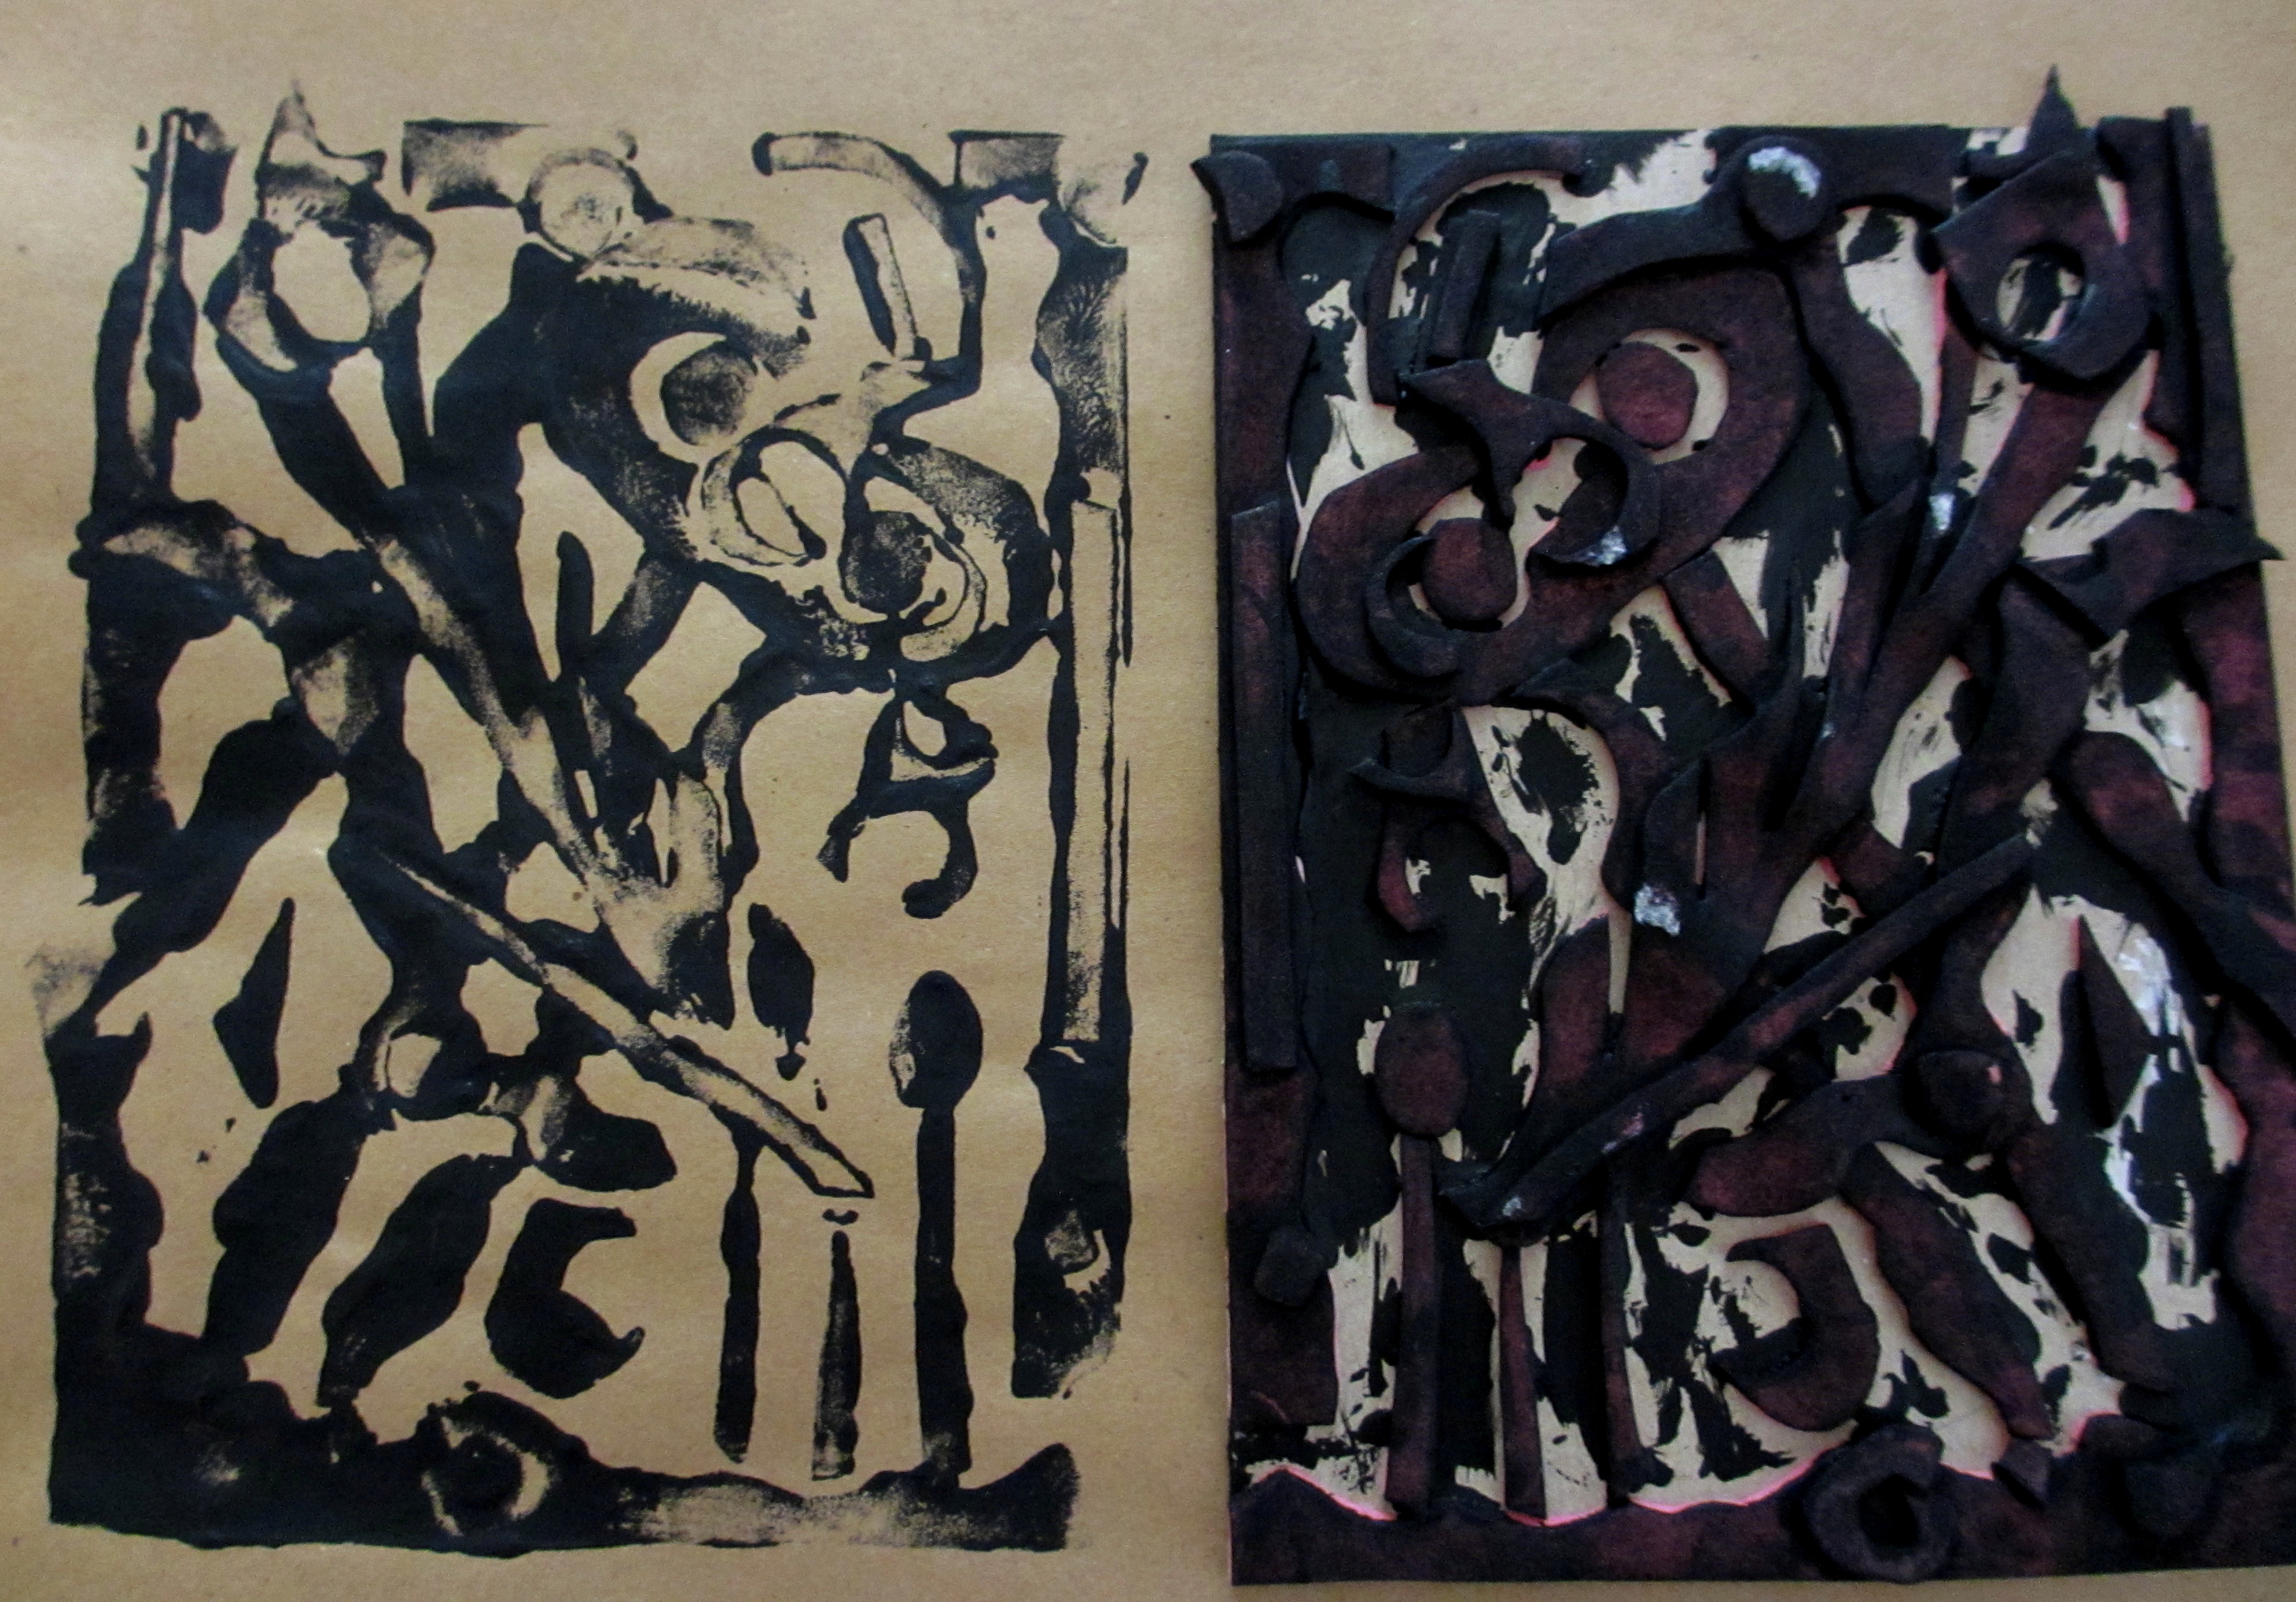
Slices of structural elements were applied to a piece of polymer clay before curing.

Foil and Alcohol Inks_1

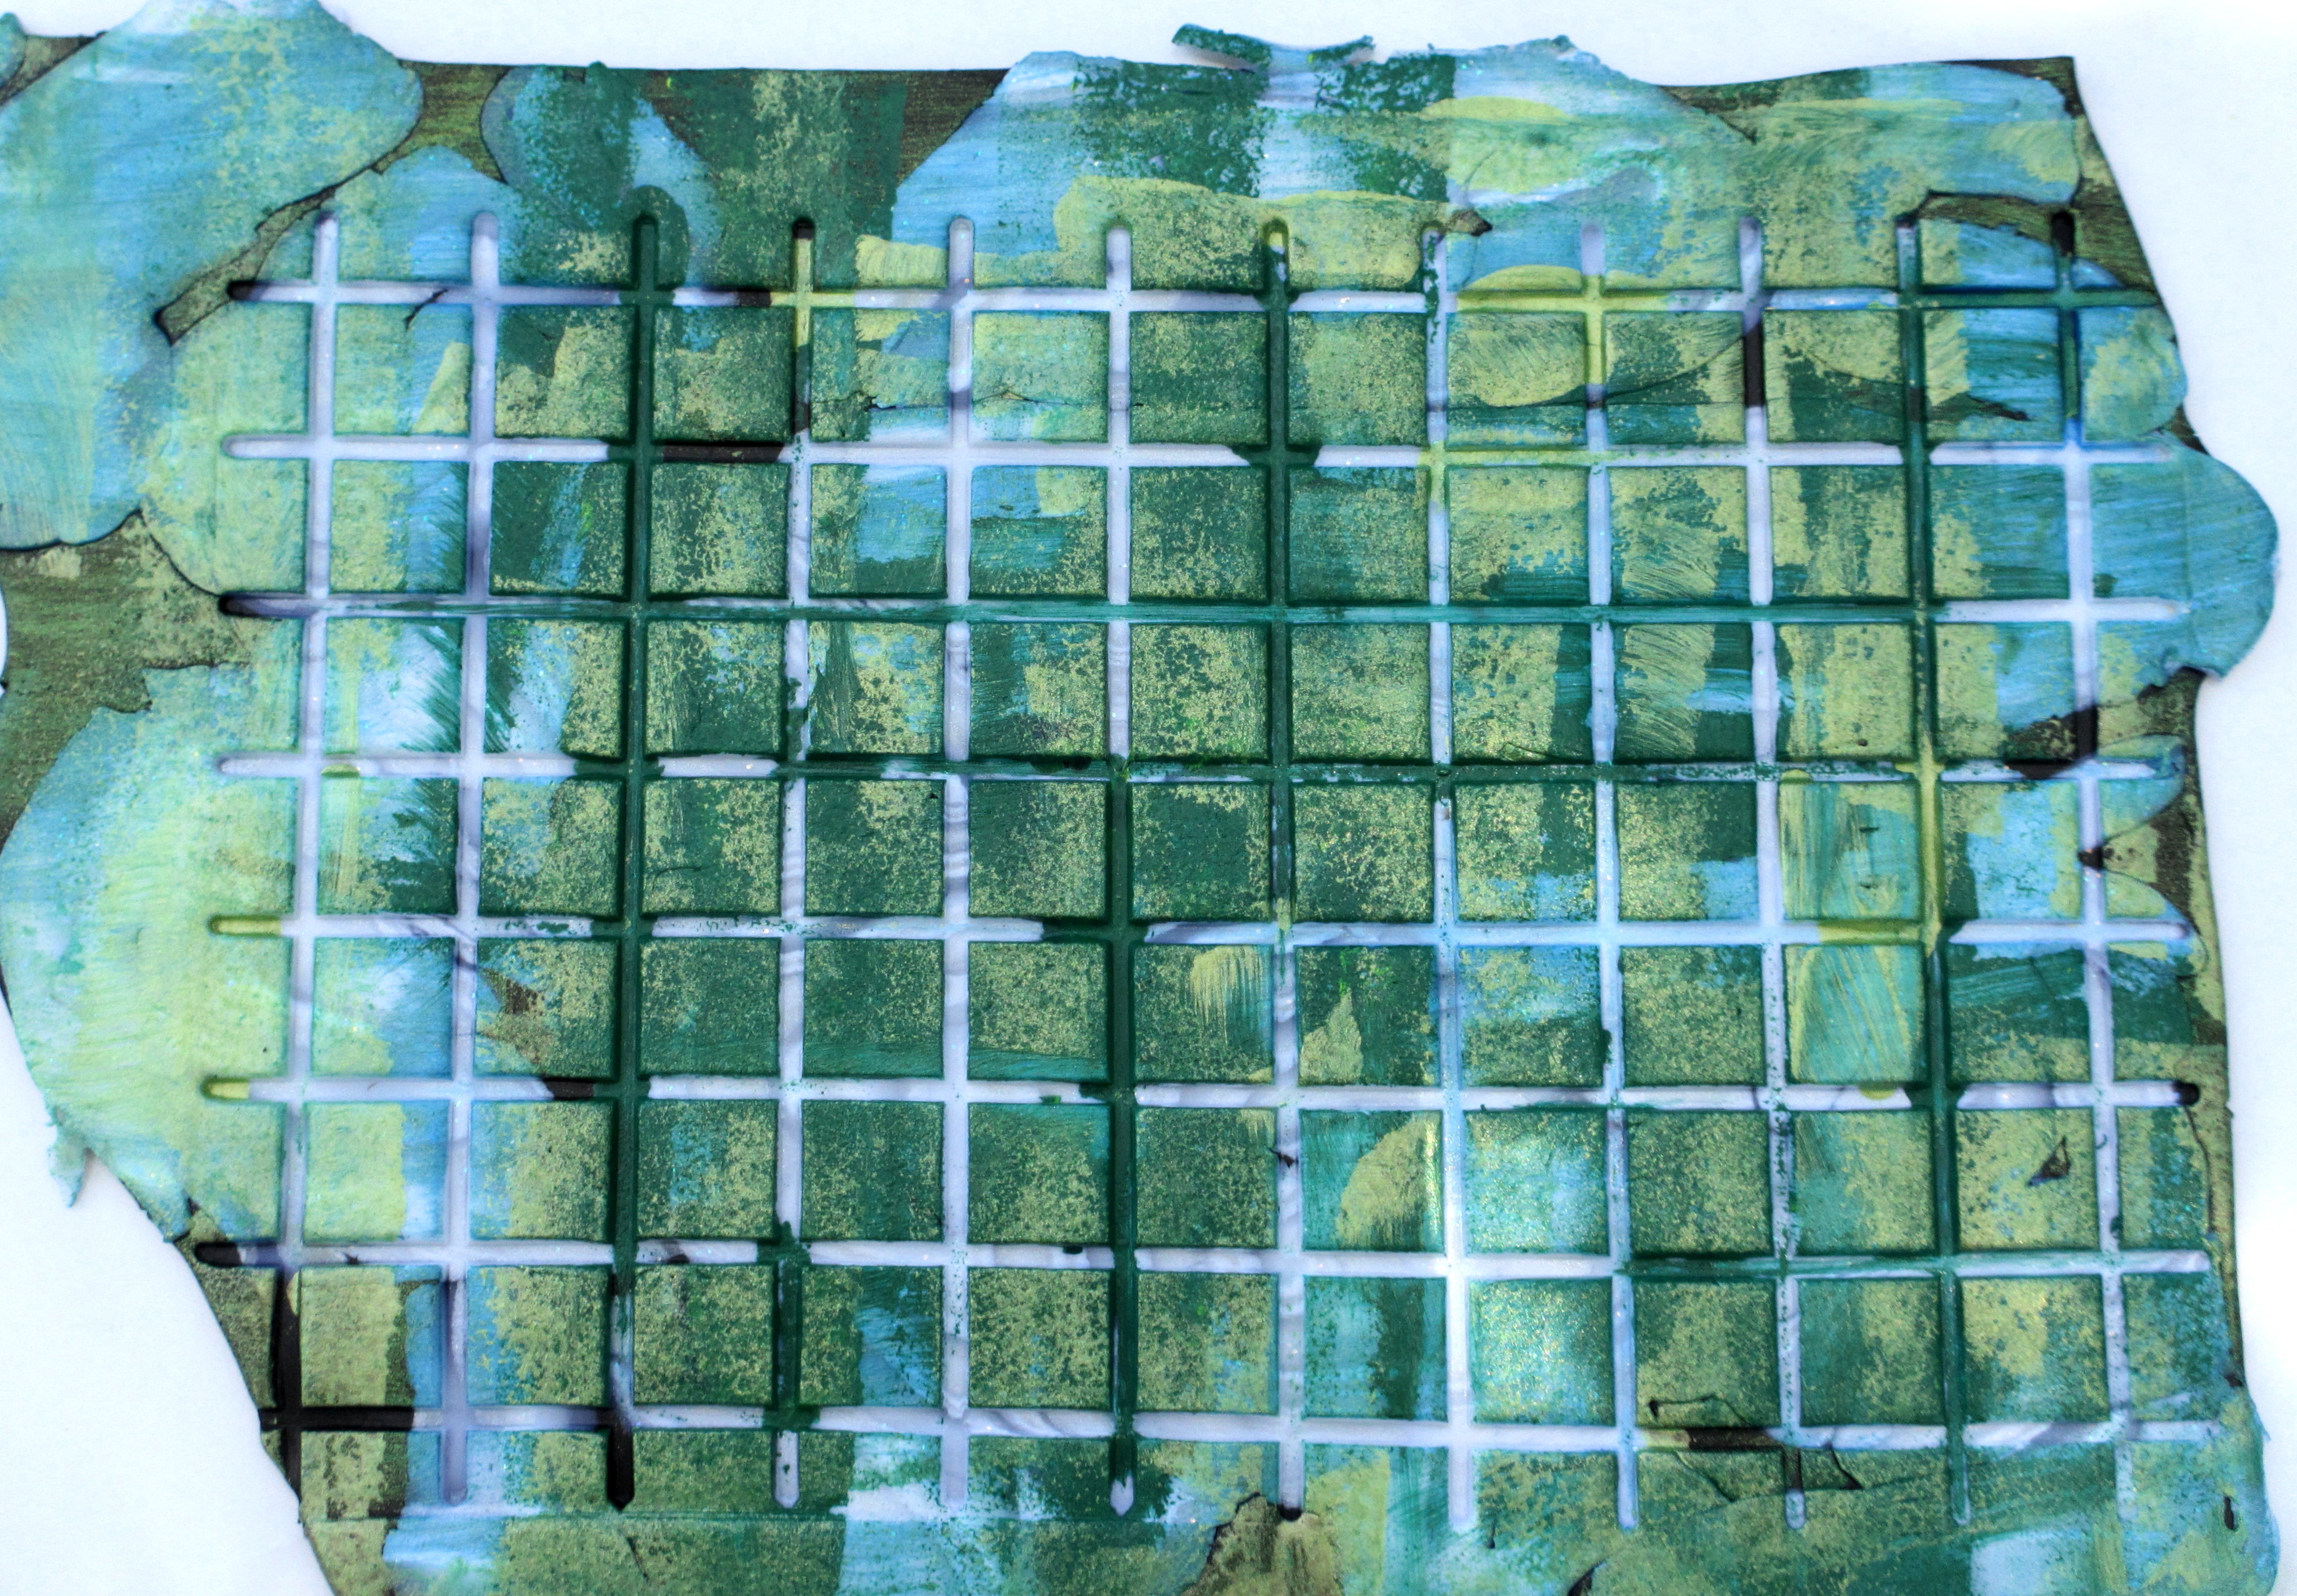
On a textured backing piece of polymer clay, elements were woven and processed.

Foil and Alcohol Inks 2_1

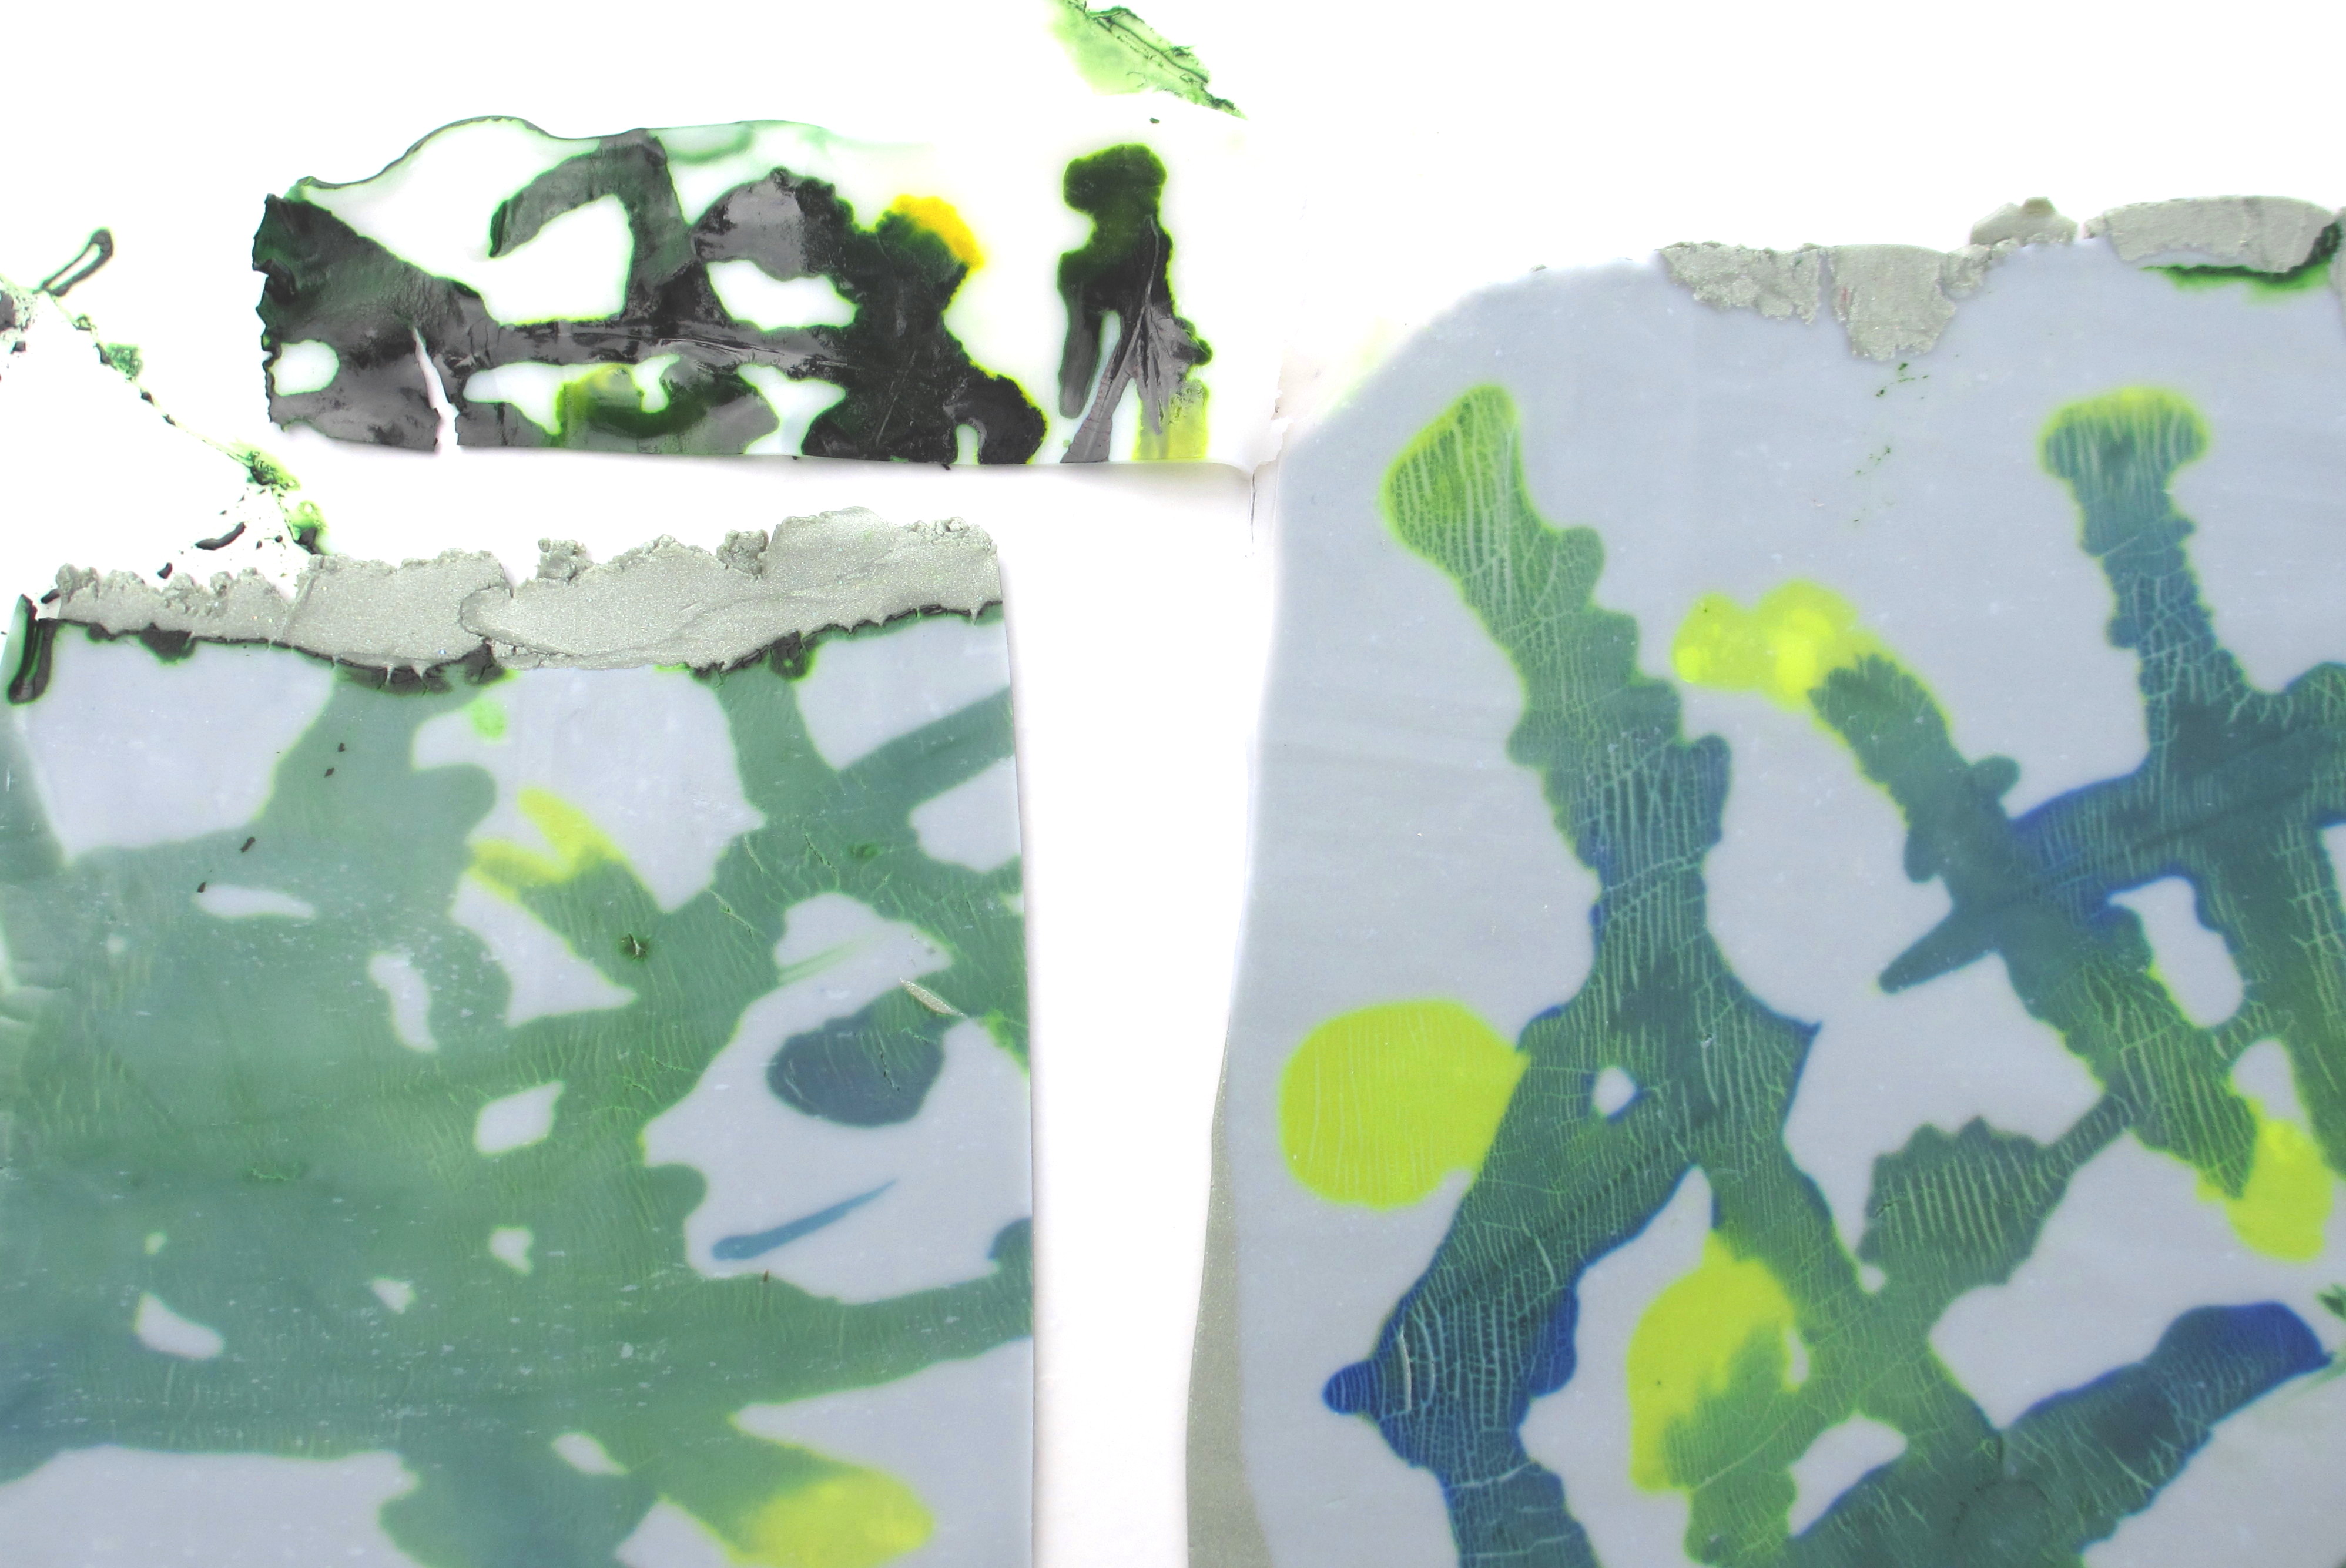
Slicing elements from the Mokume Gane block reveals an interesting  pattern. Building with additional structural elements constructs a unique piece of architecture illuminating the subtle effect created by the use of metallic leaf and ink dye.

Layer Upon Layer

Before I blog about my latest polymer clay project, I’d like to mention three inspiring polymer clay books added to my collection.  Polymer Clay Surface Design Recipes, by Ellen Marshall, explores 100 mixed-media techniques plus project ideas.  Julie Picarello’s, Patterns in Polymer Imprint & Accent Bead Techniques, provides recipes for successful color palettes, her polymer imprint technique based on the art of mokume gane and jewelry construction.  Polymer Clay Global Perspectives compiled by Cynthia Tinapple, discusses emerging ideas and techniques from 125 international artists. I find all three books inspiring, exciting and educational.

Layer Upon Layer visually documents the use of alcohol inks, translucent and opaque clay.

Layer Upon Layer #3_1

The top left image shows ink applied to the translucent clay.  The lower left and right images are examples of the inked translucent clay after drying placed on top of a sheet of opaque clay.

Layer Upon Layer #2

The movement of the dye and cracking of the translucent clay, presented an opportunity for design.  By taking advantage of the design on the surface, I added a dimension of interest by building a picture.

Layer Upon Layer_1

Through the use of cutouts and a backing piece of clay, another dimension of mystery unfolds as the eye looks into the piece.

Are these two pieces destined to become utilitarian objects?  Perhaps I’ll admire them for awhile.

On The Grid

Today’s polymer clay post explores surface design.  In previous posts, I’ve discussed the ability to make impressions on a layered block of polymer clay using a variety of tools and rubber stamps.  The imprinted layers of a  block of clay is an attempt to adapt Mokume Gane or “wood grain metal” a Japanese metalworking technique.

Yesterday, I had a discussion with Andrea Chebeleu,  the owner of A Work of Heart about the experimentation process vs. producing an end product.  I believe, it’s necessary to gather a wide variety of process driven experiences, in order to develop a subconscious database of knowledge. Taking Myself To Camp (blog posts 1, 2 and 3), did just that. My plans were to adopt and adapt the various surface design techniques to polymer clay.

On The Grid #2

Instead of imprinting the polymer clay with tools or rubber stamps, I manipulated the clay replicating wood grain.  Sliced portions were applied to a conditioned piece of clay.

Off The Grid_1

After using a texture sheet, Lumiere metallic acrylic and opaque acrylic paints an interesting textural surface appeared.  After the paint dries, something amazing will happen.

Making An Impression

Sifting through articles from my archives, I found an interesting  article written by Nan Roche.  The article from the December 1998 issue of Bead & Button, Impressed Mokume Gane, discusses making an impression in polymer clay using rubber stamps and patinas for ancient effects.  Nan Roche mentions, “I like the predictable unpredictability of the technique.”

I’ve kept the article for a time when I had the free time to explore Nan’s approach.  So, here’s my first attempt.

Making and Impression #2_1

I turned the rubber stamp upside down and placed a block of clay on top of the stamp and rolled a brayer over the block to make an impression.

IMG_4504

When carving away the polymer, it’s important to make shallow slices to reveal the patterns from the stamp.  Two types of impressions can be made revealing different results.  The typical rubber stamp has a raised pattern that will create valleys in the clay when pressed into it.  The negative image of the stamp has valleys which produces a raised image. In order to make your own negative image, press the rubber stamp in conditioned scrap clay and cure it.  Make your negative image plate from one of the strongest polymer clay, e.g. Fimo or Premo.

Making and Impression #3_1

I found the characters on the rubber stamp did not translate as well as I had hoped. Though instead of actual characters, a wood grain pattern emerged. By embellishing the   surface with additional elements, a sculptural quality to the piece emerged.

Three-Eyed Crocodile

Summer is definitely here on the West Coast.  A time when I don’t conform to a schedule or a list of “have-to’s.”  It’s a time for staying up late, sleeping in, reading, and doing whatever.  I continue to knit, but my choice of fiber changes from animal fiber to plant fiber.

Lately, I’ve been thinking about exploring polymer clay again.  In the 1990s, I sold my designs at various trade shows, local yarn stores and had a “pinch me” moment during a trunk show at Nordstrom.  How did I get the opportunity at Nordstrom?  In retrospect, I’m still amazed every time I think about it.  I walked in and basically told the jewelry rep, “I have unique objects of adornment, which you need to see.”

Time passed and my direction changed.  I found my way back.  Have I come full circle or just visiting for a moment?  Is this a Deja vu  moment?

Mokume #3_1

Using various tools imprinting designs in polymer clay replicating the Mokume Gane technique.  A technique that does not require perfection, keeping in mind the importance of negative space.

Mokume Gane #2_1Imprint designs are sliced with a blade, and applied to a polymer clay stack.

Mokume Gane #4_1

Each time I work with this medium, a surprise element appears.

ReXtangle

Rextangle #7_1

I know it’s summer, and what am I doing knitting a scarf?  It all began by knitting a swatch in order to explore the relationship between unexpected color combinations.  As the swatch grew longer, so did my interest.  What would happen if I varied the size of the rectangle?

ReXtangle #4Rextangle #2_1_1_1

What started out as a swatch turned into something worth exploring.  An interesting sequence of color combinations emerged, accentuating the texture of a slip stitch pattern.

Without hesitation, I began seaming the two swatches together.  By seaming the two together, I was able to explore the various color combinations side by side.  To achieve the maximum interaction between rectangles, it’s imperative to line up the slip stitch rows when seaming.   I decided to leave an opening.

Rextangle #6_1

I attached two Dorset buttons as closures.

Art vs. Craft

I had a professor of art history ask, “What is your definition of art?”  After a brief moment of silence, he offered this definition, “Art is an idea made manifest.”

So, “What is your definition of art?”

http://ed.ted.com/lessons/is-there-a-difference-between-art-and-craft-laura-morelli#review

Still-Life--Vase-with-Fifteen-Sunflowers

More Buttons #2

Sea Glass and Sand Dollars #5

Taking Myself To Camp Day #3

Today, I did not allow myself to over think the project.  I began to cut and place different free form shapes in a random order, building a three dimensional plate, in order to produce a two dimensional image.

Taking Myself To Camp Day #3_1I’ve realized I need more experience with the application of paint to become better acquainted with the behavior of the medium.  How much is too much or not enough?

Taking Myself to Camp Day 3 #2

Taking My Self To Camp Day 3 #3


Tomorrow, the images of the week will be bound in a book.   I’ve been wanting to try bookbinding for awhile and I’m look forward to the opportunity.