A New Year With A New Look

Wow! I can’t believe how long it’s been since my last post.  It all began in August of last year…

At the end of August 2017, I decided to enroll in a Fashion Design Program at a not so local community college.  Immediately, I was thrust into the lanes of commute traffic arriving at my location at least an hour before class two mornings a week.  Surrounded by an interesting group of like-minded individuals, I learned so much about the material and myself.

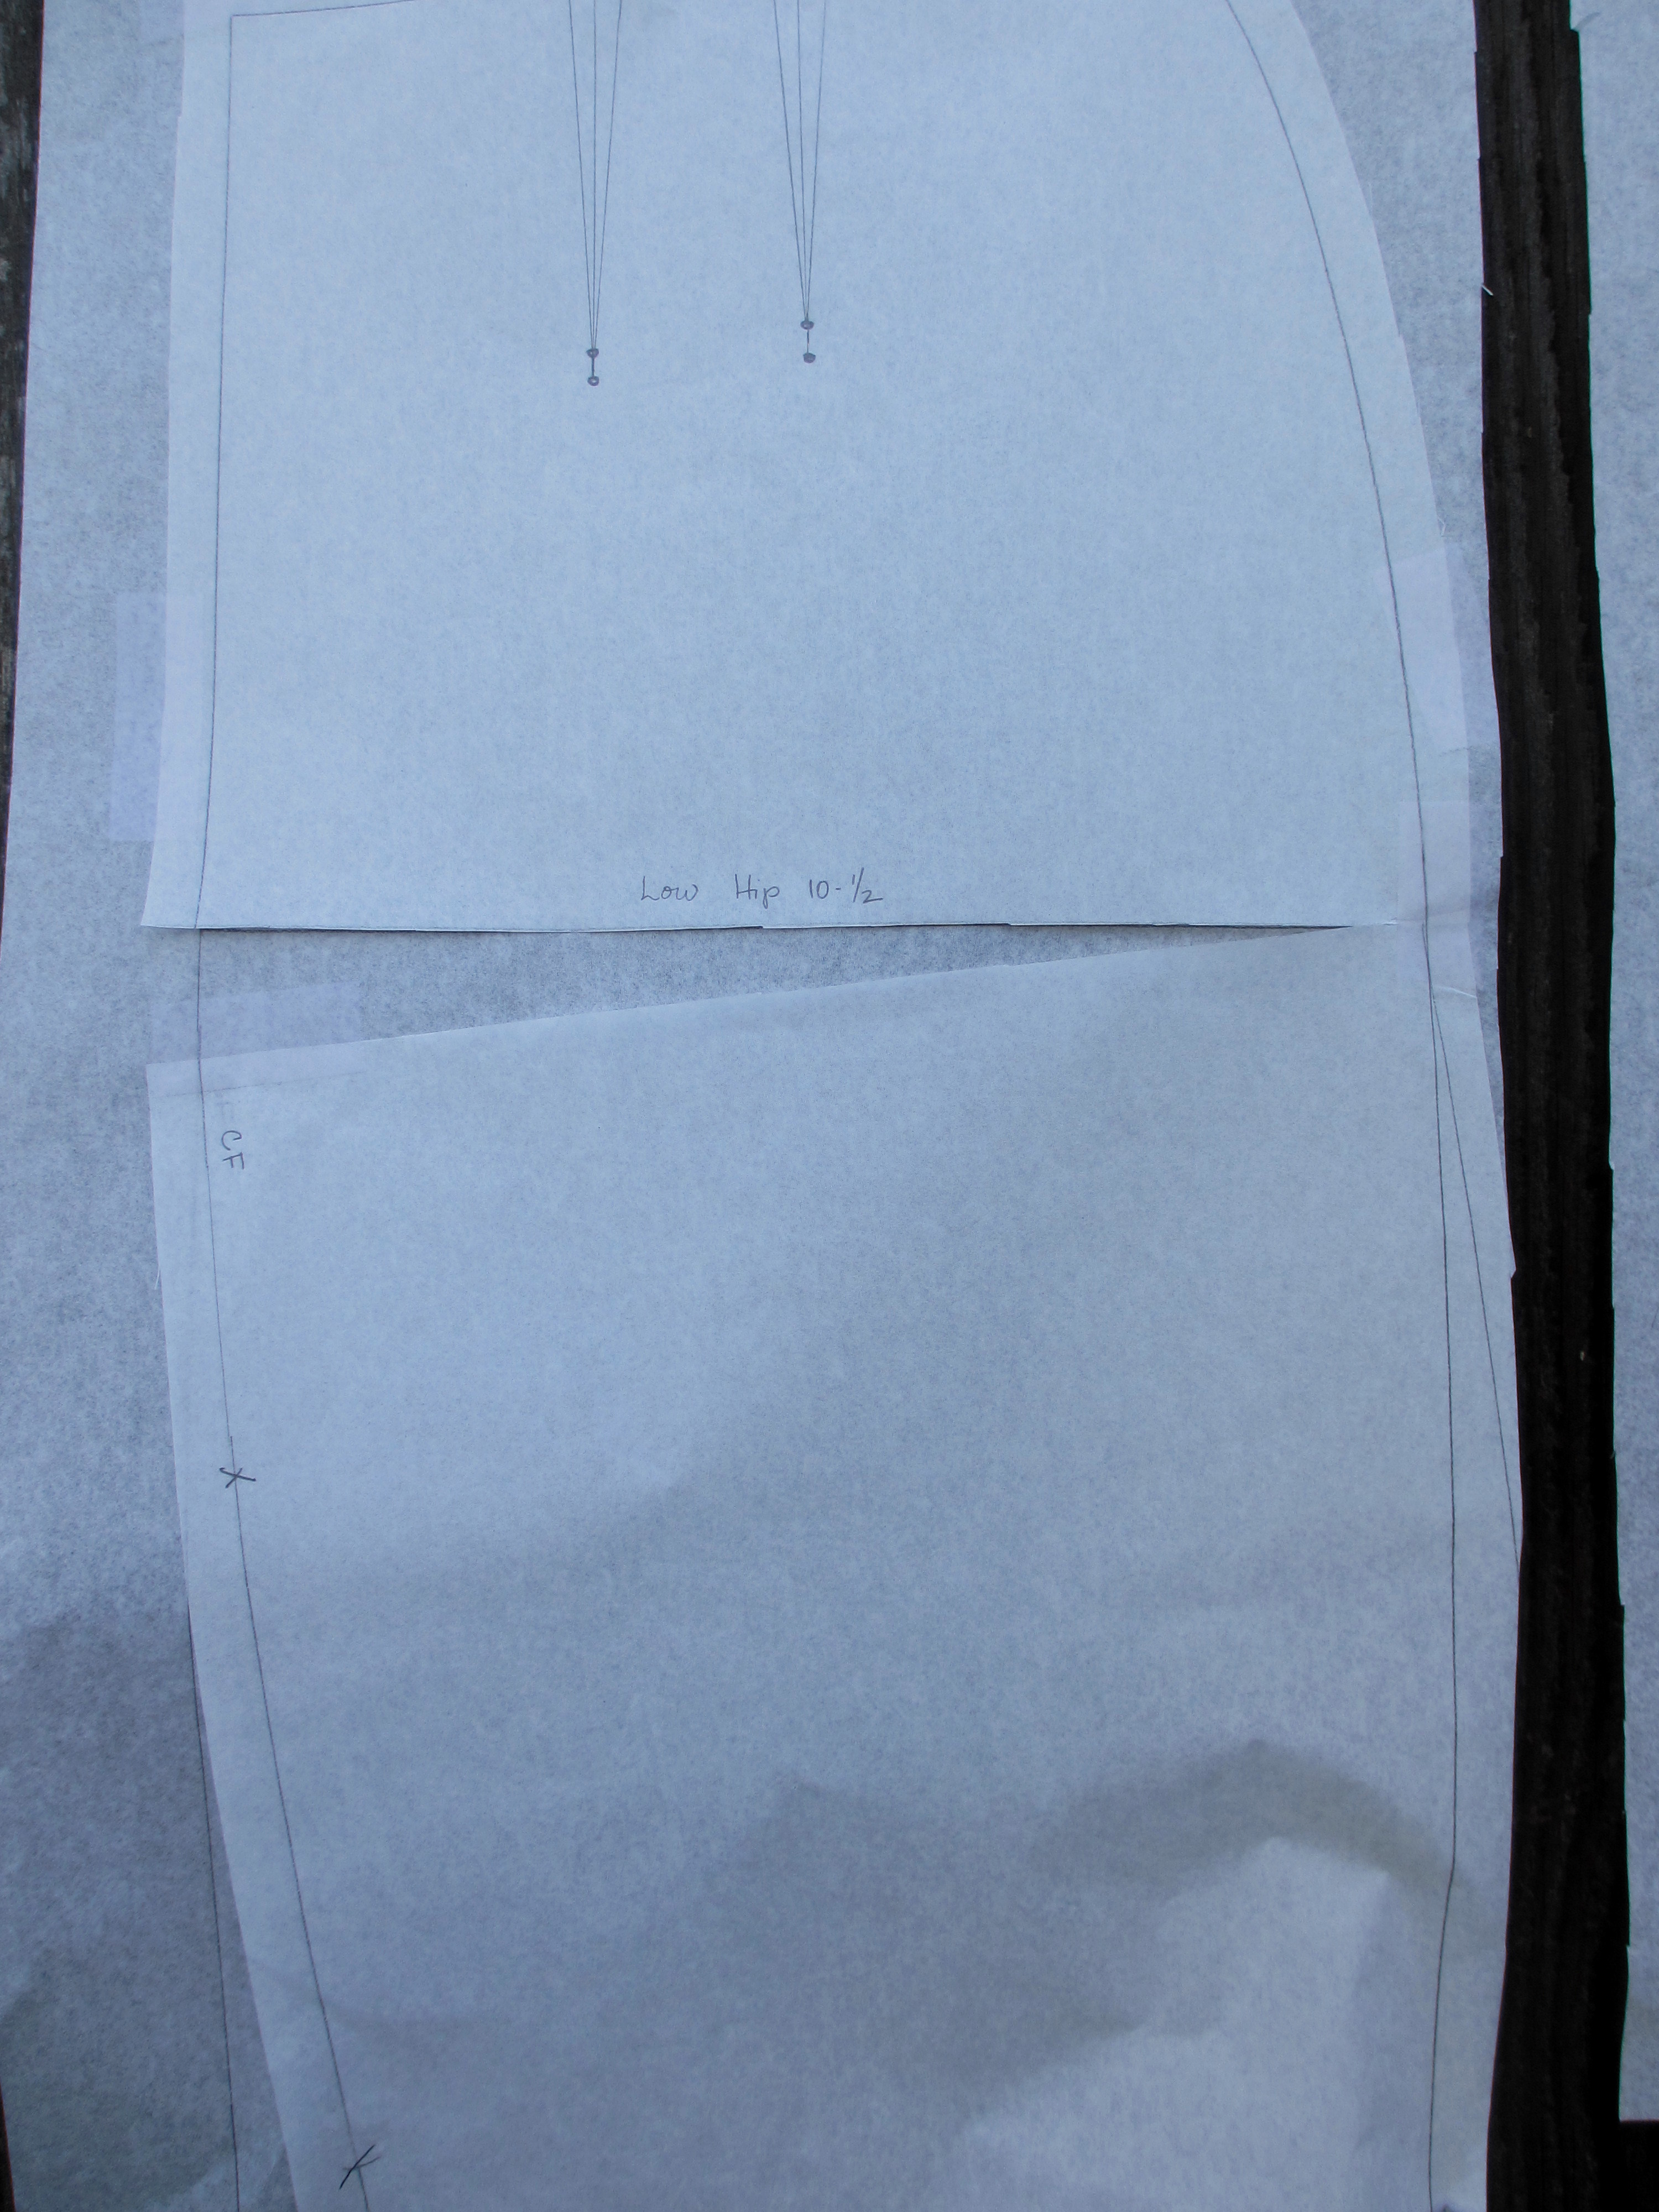
Flat Pattern Design was an intense, rigorous class with a language all its own.  The process of translating a two-dimensional design into a garment was challenging and at the same time, a rewarding experience.

20170921_090443
Flat Pattern Design

Above is a sample of various half scale and quarter scale dart manipulations I produced. The final project for class consisted of using a basic bodice, sleeve and skirt sloper, along with various dart manipulations, in order to design a garment.

IMG_20171213_123521_575
Final Garment

My design adopts and adapts the loose fit of the kimono by incorporating the dropped armhole along with the chemise silhouette.  Godets are added on the side seams to add fullness imitating fabric layers of the kimono. Fabric folded origami sculptural motifs are added to the surface of the design.

The dropped armhole reflects fashion of the 1940’s along with fabric choices reminiscent of the Mod print fabrics of the 1960’s.  Through the use of dart manipulation, my design expresses the influence the Japanese culture and the 1960’s played in my life.

Mod Floral PrintVintage 1960s small square tablecloth retro

kimono sleeve 1940s

IMG_20171214_090246_227

Just by chance, my final garment fits me too!


Back To The Drawing Board

After completing pattern drafting for Skirts,  I decided to move forward with Moulage.   With pencil and eraser nearby, I began translating my measurements onto paper, the end result would be a “mold” of my body to assist in garment construction.

First, I needed to draft a Foundation Block front and back in order to draft a custom moulage of my upper torso.  Once completed, I drafted a bodice sloper of my front and back, and mounted the two on oak tag.

Moulage_1 Moulage #2_1The text book used for class, Building Patterns, The Architecture of Women’s Clothing, written by Suzy Ferrer can be a bit overwhelming given the amount of technical information.  A semester of instruction would definitely explain, in detail, the technical aspects of this informative book.

Here is my moulage.  A few minor adjustments to the shoulders and hips were made (as pinned in the photo.)

IMG_4967

It was an intense experience, but also rewarding.  I am proud of my accomplishment.


If At First You Don’t Succeed

try try again. My journey back into sewing all started with an unsuccessful trip to the mall. The mass produced garments hanging on the racks, sewn out of low quality fabric, and lacking style and fit did not deserve a visit to the fitting room.  I briskly walked to my car and could not wait to arrive home because tucked away in several storage bins in my attic were options, Swiss cotton, Italian cotton, wool and silk.

It just so happened a pattern drafting Skirts class being offered at Eddie’s Quilting Bee fit my schedule. Skirts The Beginning_1

By implementing Sally-Ann’s instructions in conjunction with Nicole Smith’s, Skirt-A-Day Sewing, I drafted a skirt foundation block using my low hip measurement. Upon the completion of the skirt block, I drafted a two-dart sloper.  At this point, Sally-Ann mentioned, “Sometimes in takes three to eight muslin to reach the final draft.”  My first draft needed alteration.  After taking 2″ off the waist and 1/4″ off below the low hip, I drafted a second sloper.  The second muslin side seams pointed out that my hips tilt forward.  Sigh..Back to the drawing board.  I drafted 3/4″ off the back and added it to the front.  The third muslin did not hang even.  I have one hip higher than the other.  I proceeded to cut and pivot the front by inserting 1/2″ at the low hip measurement, and inserting  1/4″ to the back.  The fourth muslin back did not require any further alterations, but I needed to pivot the front by inserting an additional 1/2″ for a total of 1″.  The fifth muslin front and fourth muslin back are perfect… ten drafts later.  The final copy of the final sloper needs to be mounted on poster board with spray adhesive.  On to the next phase, A-Line Skirt.

Skirts_1

Skirts #3Skirts #2

%d bloggers like this: