Super Moon and Playing with Paperdolls

There are many knitwear designs that capture my interest, especially cocoknits.  Recently, I had an opportunity to sign-up for a series of class meetings with Julie Weisenberger of cocoknits at A Verb for Keeping Warm in Oakland, CA.  Julie brought samples to class for all of us to try on, and I was immediately  attracted to the long version of Gisela.  Knit with Habu Textiles #A-174 Cotton Gima (100% cotton, 1 oz. 265 yards) “Gisela with seams is a cocoknits’ classic; open weave with architectural shaping that adds a bit of drama while hiding what needs to be hidden!”

gisela-2
http://www.cocoknits.com  Gisela
gisela-coat
http://www.cocoknits.com  Gisela (long version)

I need to determine if the long version of Gisela is the right length for me.  Gisela measures 30″ down from the armhole, which is perfect and lightly touches the top of my knee. Also, I am one size larger on the bottom than the top. What is my next step?  How am I going to figure all of this out?  Here’s how I incorporated  my unique design characteristics…

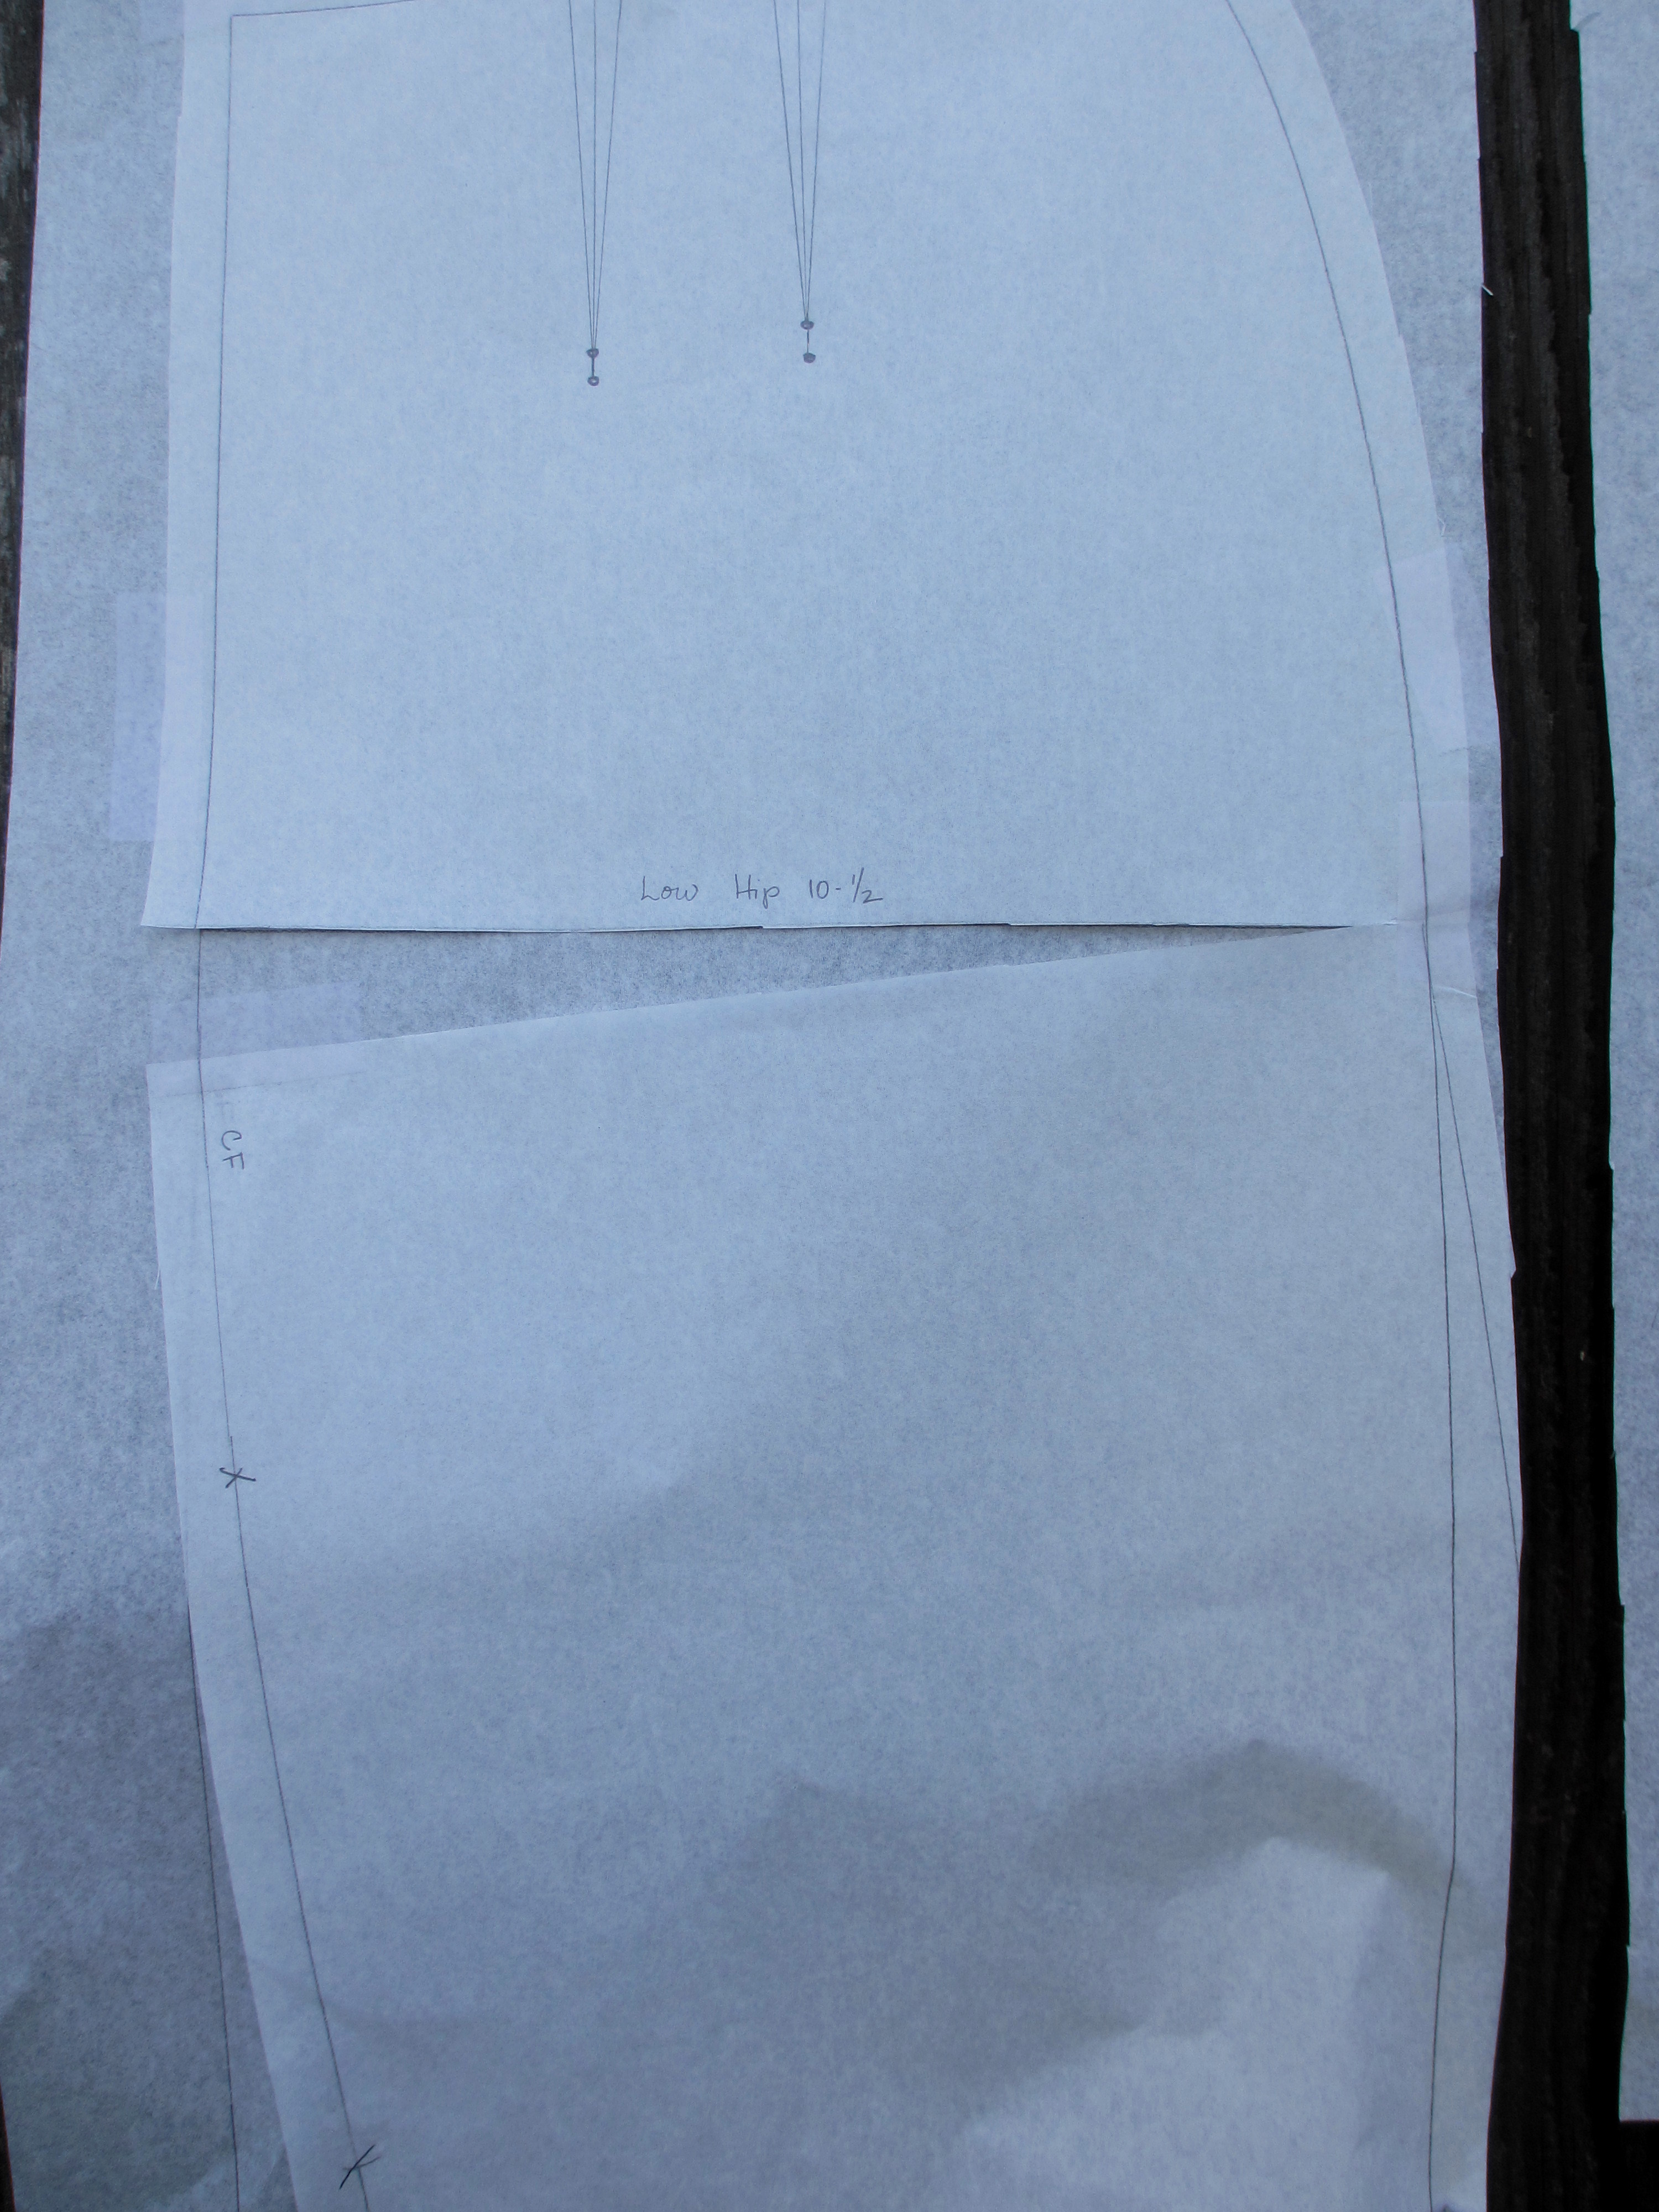
Two paper rectangles representing the measurement from under the armhole and lower body with length measurements for a total of 30″ *not including the yoke.

playing-with-paperdolls

Where would I start decreasing, and how many decreases would I work?  I wanted to tackle the most difficult question of where would I place the decreases.  How many rows would I knit before decreasing?  This is when I had an “aha moment.”  I pulled out my skirt sloper to figure out where to begin decreasing.  My hips fall 8″ below my waistline, so I decided to begin decreasing after knitting 10″ from the bottom.

Next, how many stitches do I need to decrease?  I chose to knit a large on the bottom and a medium on the top, so I cast on 182 stitches knowing that I would have to decrease to 166 stitches to begin knitting the upper half of the pattern.

playing-with-paperdolls-3

The Knitter’s Guide to Sweater Design by Carmen Michelson and Mary-Ann Davis proved to be a plethora of valuable information, especially a section on Reverse Tapered Body, pgs. 69-74 .  I read between the lines and “cherry picked” what information I needed.

(Size L) CO 182 sts – (Size M) 166 sts  = 16 sts  decrease over 8″

8″ x 4 rows (refer to pattern gauge) = 32 rows

16 sts divided by 2 = 8 sts

32 rows divided by 8 = 4 rows

Decrease 2 sts every 4 rows

Of course, this is what I’m going to try, but perhaps you have another approach.  By all means, go with your own plan.

Here’s my favorite picture of Super Moon 2016 on a foggy Northern California evening.

supermoon-2016_1_1
Photo Credit: Mary Lou Fall

If At First You Don’t Succeed

try try again. My journey back into sewing all started with an unsuccessful trip to the mall. The mass produced garments hanging on the racks, sewn out of low quality fabric, and lacking style and fit did not deserve a visit to the fitting room.  I briskly walked to my car and could not wait to arrive home because tucked away in several storage bins in my attic were options, Swiss cotton, Italian cotton, wool and silk.

It just so happened a pattern drafting Skirts class being offered at Eddie’s Quilting Bee fit my schedule. Skirts The Beginning_1

By implementing Sally-Ann’s instructions in conjunction with Nicole Smith’s, Skirt-A-Day Sewing, I drafted a skirt foundation block using my low hip measurement. Upon the completion of the skirt block, I drafted a two-dart sloper.  At this point, Sally-Ann mentioned, “Sometimes in takes three to eight muslin to reach the final draft.”  My first draft needed alteration.  After taking 2″ off the waist and 1/4″ off below the low hip, I drafted a second sloper.  The second muslin side seams pointed out that my hips tilt forward.  Sigh..Back to the drawing board.  I drafted 3/4″ off the back and added it to the front.  The third muslin did not hang even.  I have one hip higher than the other.  I proceeded to cut and pivot the front by inserting 1/2″ at the low hip measurement, and inserting  1/4″ to the back.  The fourth muslin back did not require any further alterations, but I needed to pivot the front by inserting an additional 1/2″ for a total of 1″.  The fifth muslin front and fourth muslin back are perfect… ten drafts later.  The final copy of the final sloper needs to be mounted on poster board with spray adhesive.  On to the next phase, A-Line Skirt.

Skirts_1

Skirts #3Skirts #2

Happy New Year 2015

Recently, I received an email from WordPress detailing the stats this past year for my blog.  I originally decided to blog about my various creative endeavors with a pair of knitting needles and yarn in order to give the creative side of my life “purpose.”  Not to soon after I started blogging, I began teaching.  From teaching, I was asked to become a part of a design studio/yarn store in my local town.  So you see, stats were not on my radar.  I was hopeful that someone would find my posts interesting, but it did not matter.  I wanted a platform which would enable individuals to “see me” through my stitches.  I’ve tried to maintain a personal distance communicating only one stitch at a time because “words” are many times misinterpreted.

In retrospect, 2014 was a wonderful year.  My husband and I cruised up the Danube River for two weeks.  An experience I will forever hold close to my heart.  One morning, while cruising, I was awakened by a glow filtering through the drapes in our cabin.  I grabbed my camera and captured the sun coming up.  Perhaps we’ll see Istanbul or Paris this year.IMG_3076

I ended the year by making a new acquaintance at Eddies’s Quilting Bee in Sunnyvale, CA.  Sally-Ann Flak, a talented artist, taught a class at The Bee.  I plan on taking a pattern drafting class this month and a Moulage class in February.  Check out a picture of me wearing a scarf and holding another on Eddie’s Quilting Bee Facebook page.  I was able to finish both scarves in Sally-Ann’s class.

To all sticks-a-gogo’s friends, Facebook friends, and my friends in the real world, Happy New Year!

%d bloggers like this: