Stay tuned! I’ll be back…
Tag: sewing

Nona, Roman Goddess of Textiles
As a result of fashion houses making the move to become more sustainable, while paying particular attention to circularity, an abundance of designer deadstock appears on the sewing scene as a way of “creative use” of deadstock. Back in August of 2022, I read an article in The New York Times, written by Dana Thomas, dated August 15 2022, about the fashion industry and the need to re-think past practices regarding fabric.
Romain Brabo, Givenchy’s fabric buyer, co-founded Nona Source, a showroom that collects leftovers from couture collections and makes them available to everyone. Brabo’s mission is to, “Incentivize creative reuse and do so at a super-competitive price.” He further states, “We revalue all our materials, so nothing goes in the trash.” Check out their website https://www.nona-source.com/pages/about-us
As a student of Fashion Design and Sewist, I am excited to have the same opportunity to work with affordable couture fabrics, and by creating with “deadstock” I am part of a bigger picture focusing on recycling with zero-waste as a priority. Deadstock is not dead!

Share this:

It Started With The Brownie
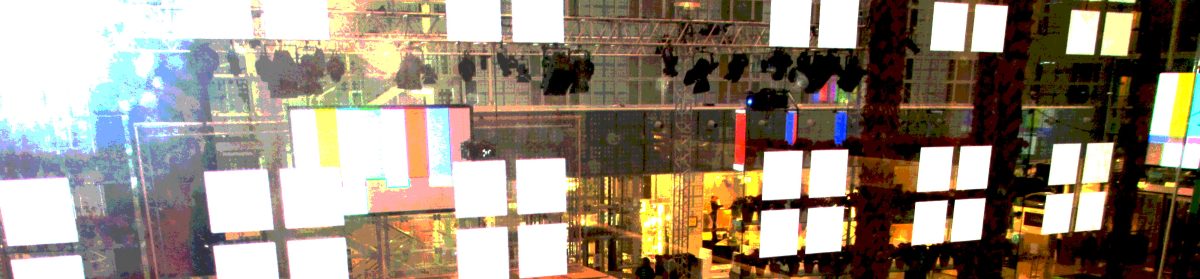
“The mimesis of amateurism began around 1966; that is, at the last moment of the “Eastman era” of amateur photography, at the moment when Nikon and Polaroid were revolutionizing it. The mimesis takes place at the threshold of a new technological situation, one in which the image-producing capacity of the average citizen was about to make a quantum leap. It is thus, historically speaking, really the last moment of “amateur photography” as such, as a social category established and maintained by custom and technique.
The above-referenced quote was taken from an essay written by Canadian artist, Jeff Wall, “Marks of Indifference”: Aspects of Photography in, or as, Conceptual Art, reinforced my definition about images captured using a cellphone camera as art, taken by a photographer.

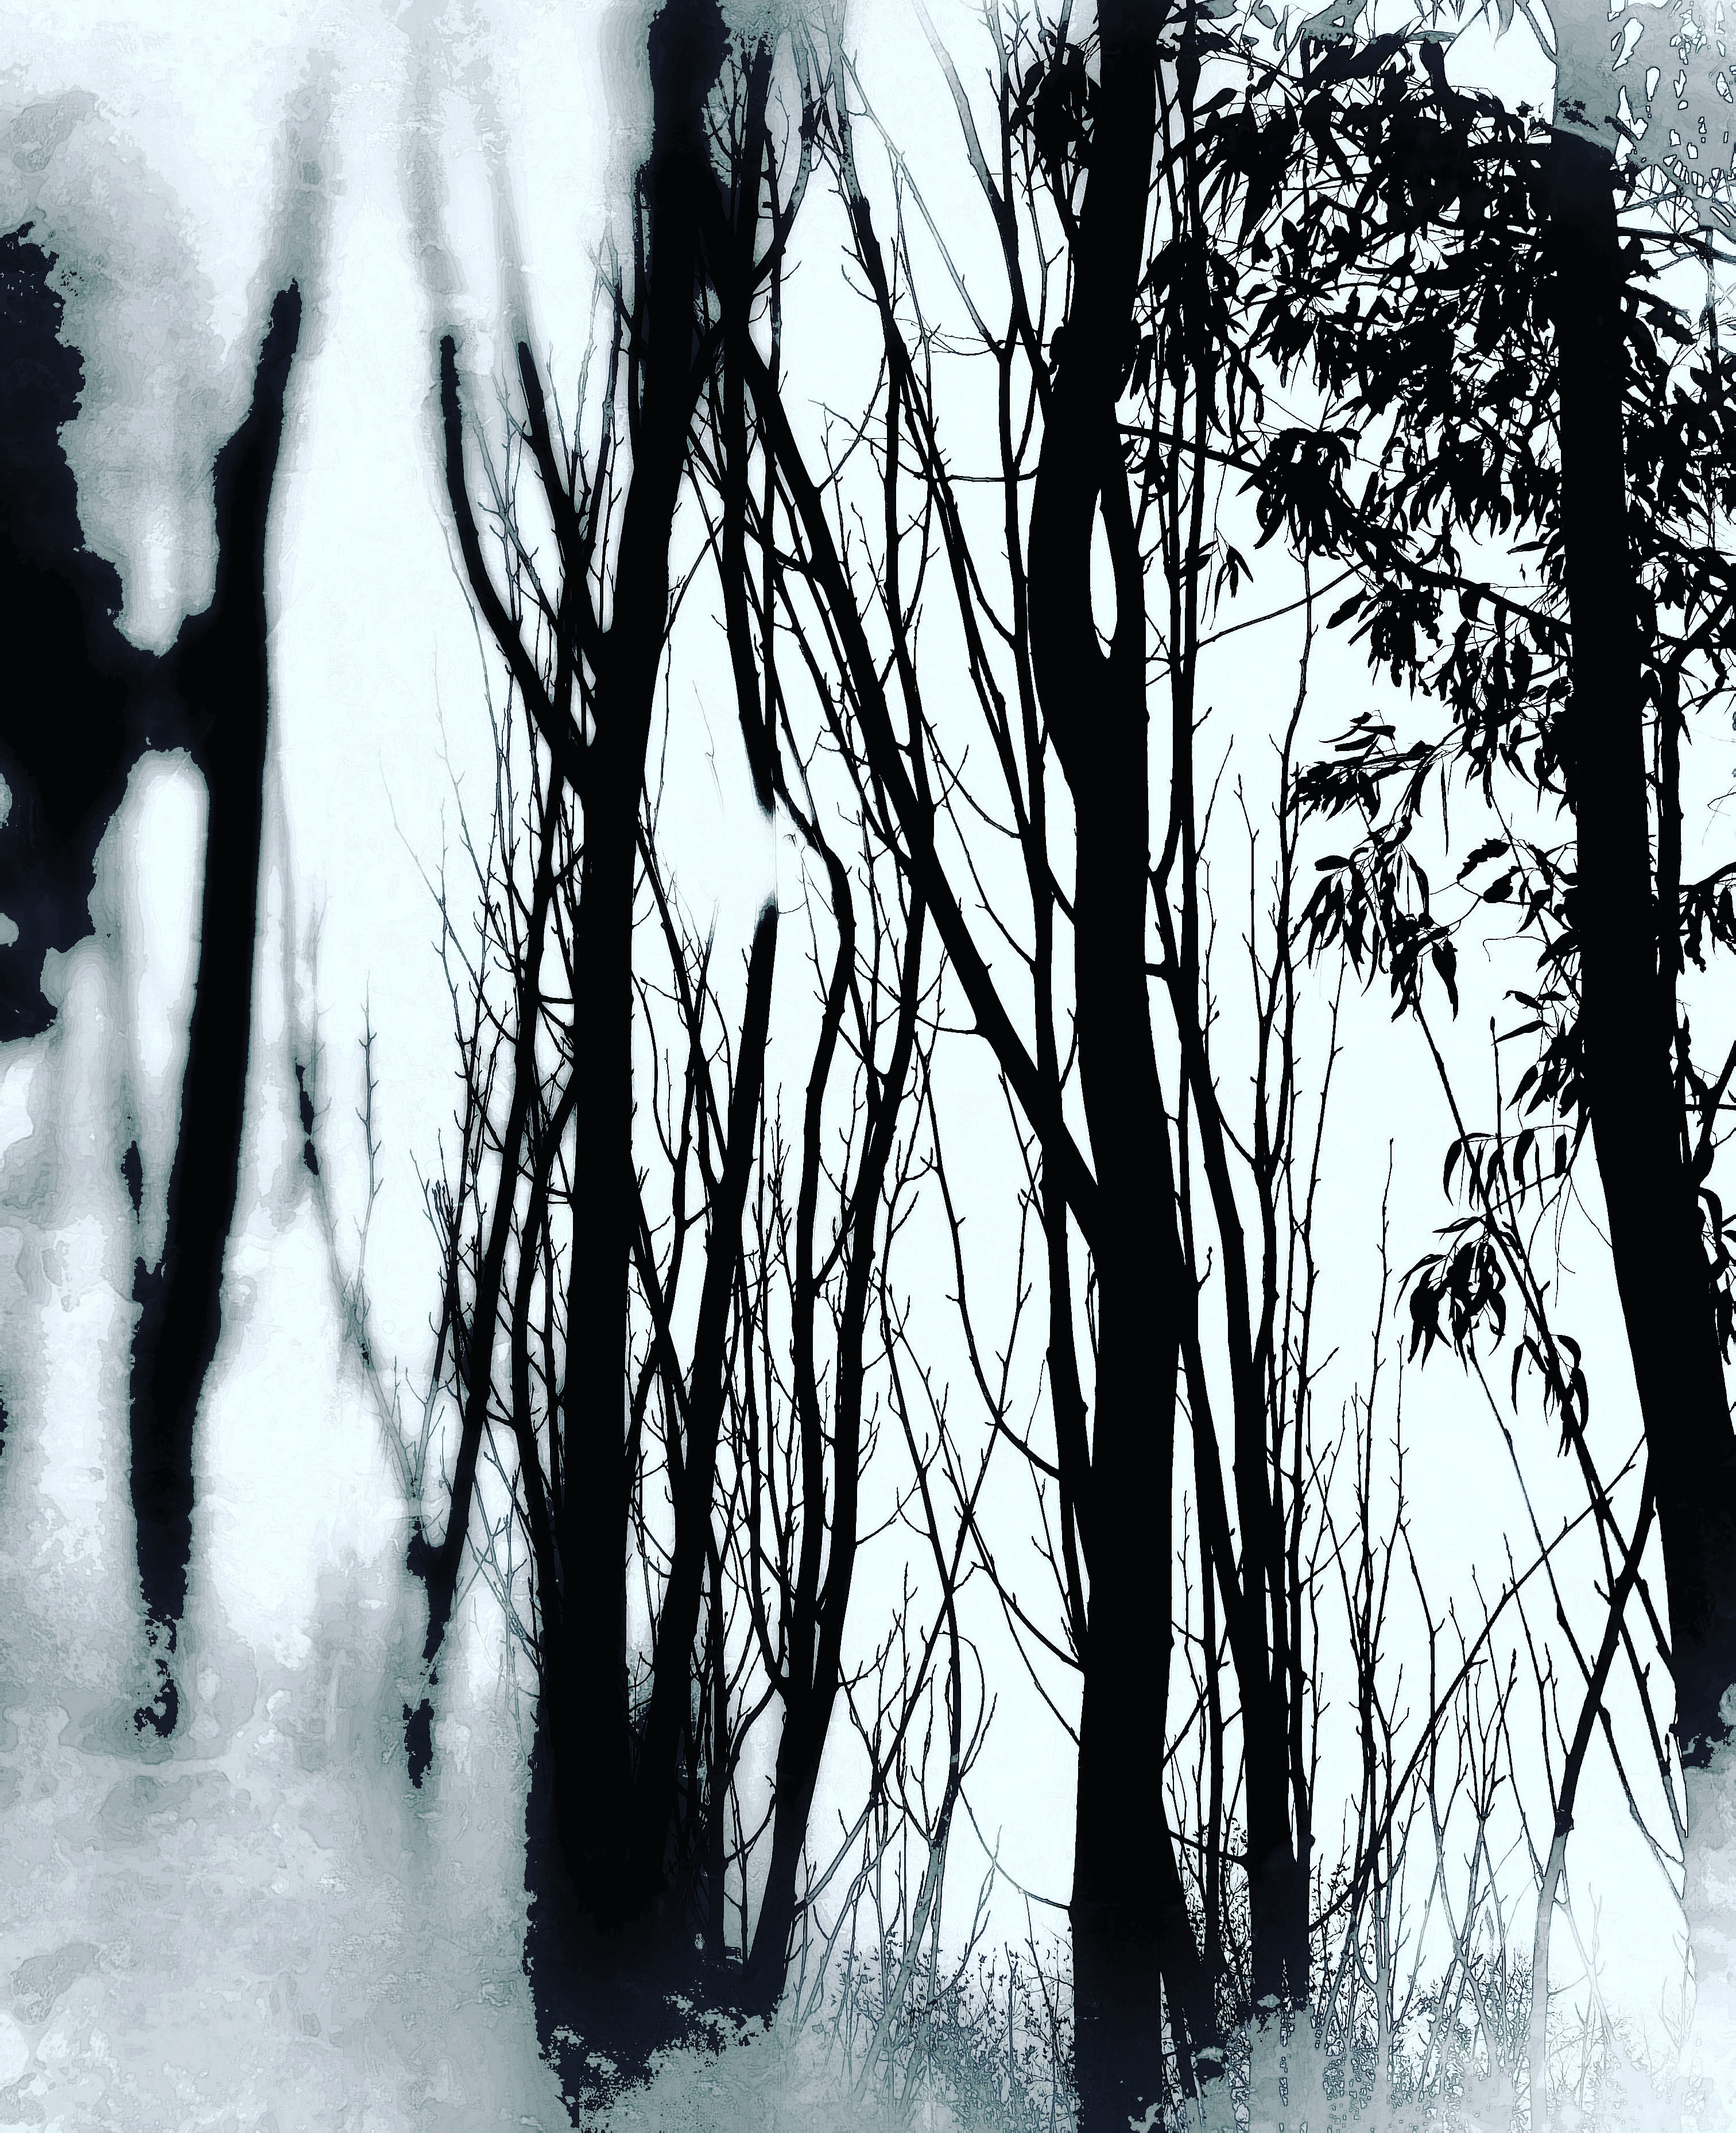
This image was taken while sitting under a tree. I mentally placed the image in my mind, and voila, I snapped the photograph. Various technological options were used to manipulate the photo. The cellphone photograph was used to create a narrative on fabric. This piece is from the sticks-a-gogo Art Cloth Bokeh Collection: Landscape found in my store spoonflower.com/profiles/sticks-a-gogo_art_cloth
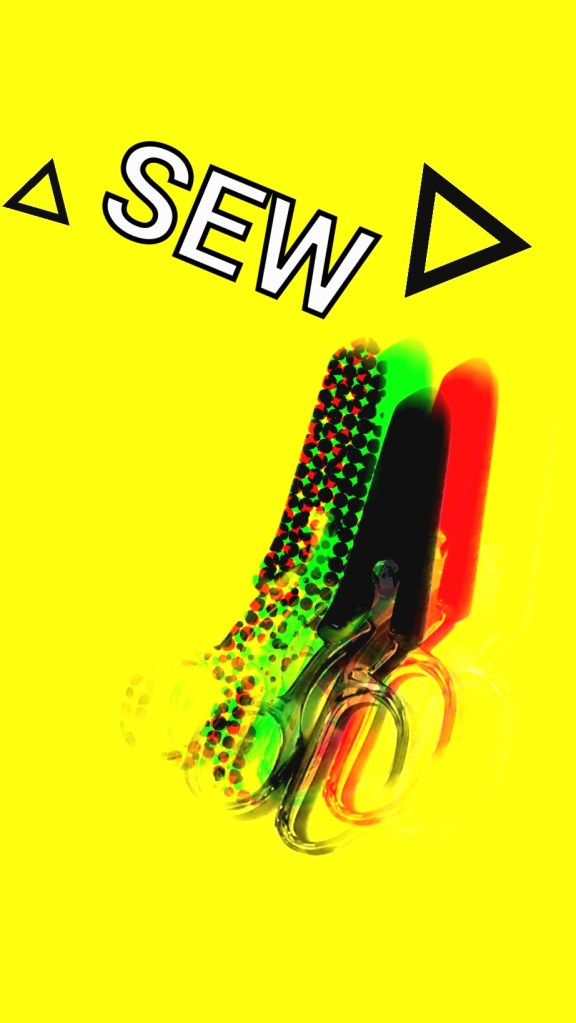
Sew was an experiment using the Adobe Photoshop Camera App.
Share this:

Two Designs for The New Year
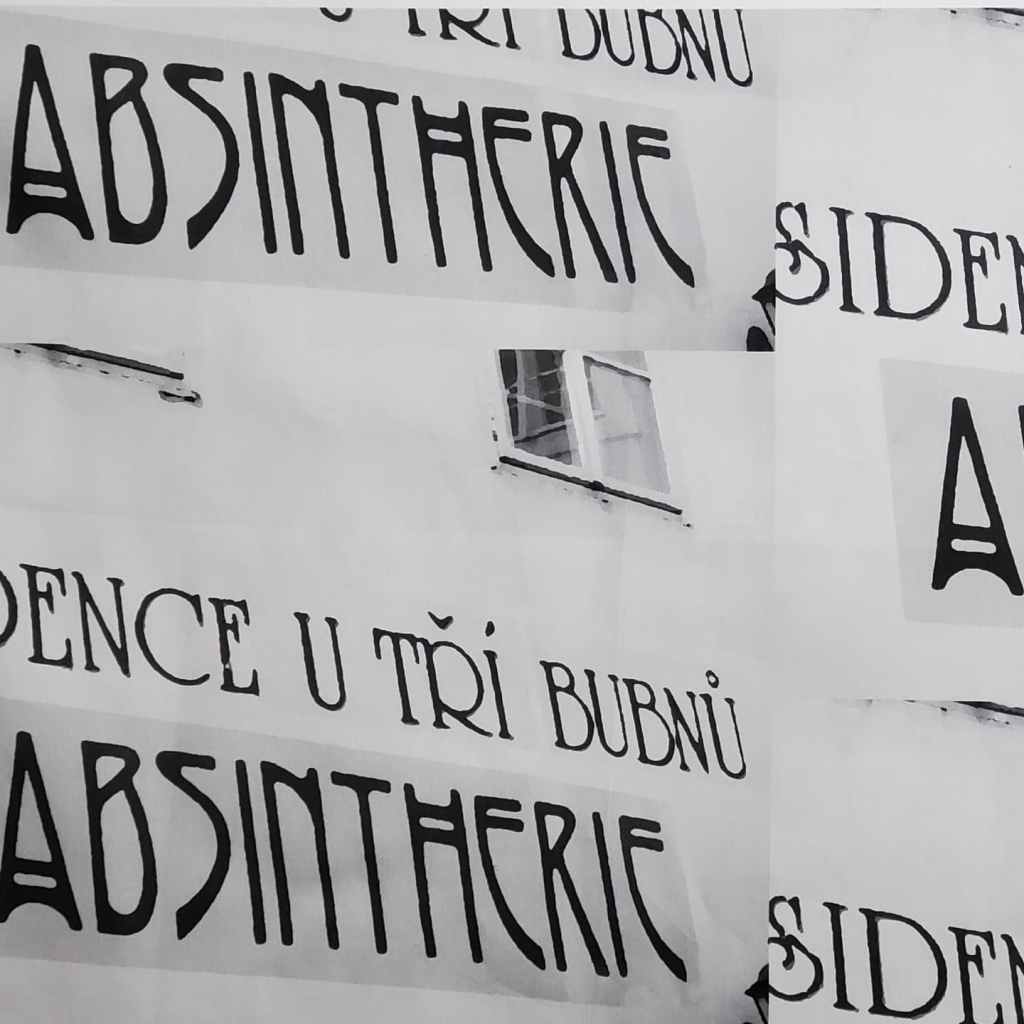
Here at sticks-a-gogo Art Cloth, we begin the New Year with two new fabric designs. Beginning with Absinthe, an advertisement on the side of a building in Prague advertising Bohemian-style or Czech-style absinthe.
Succulents, captures raindrops on plants outside our office space window.

Today, I captured an image with my cellphone, soon to be another sticks-a-gogo Art Cloth fabric design.
©Mary Lou Fall 2022
These and many more designs can be found at http://www.spoonflower.com/profiles/sticks-a-gogo_art_cloth
Share this:

A Photograph
Mobile Photography is the future of the art form. Discrete intimate and always accessible to capture a moment. – David S. McNamara
Photographs are said to preserve a moment in time, chronicle a piece of history, and refer to the ephemeral. Does the act of photo manipulation rewrite the history documented in the original photograph? I don’t use photos as a memory aid, but as a way to manipulate color, patterns and shape. I decided to co-mingle technology with textiles producing sticks-a-gogo Art Cloth.
For the last two years, I’ve produced images for surface design on fabric. Below are two examples, showing the original image and the resulting surface element.
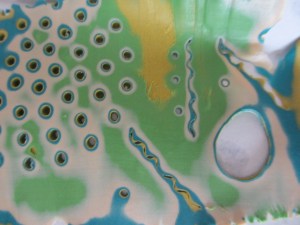
©2020 Mary Lou Fall

©2020 Mary Lou Fall – Topography

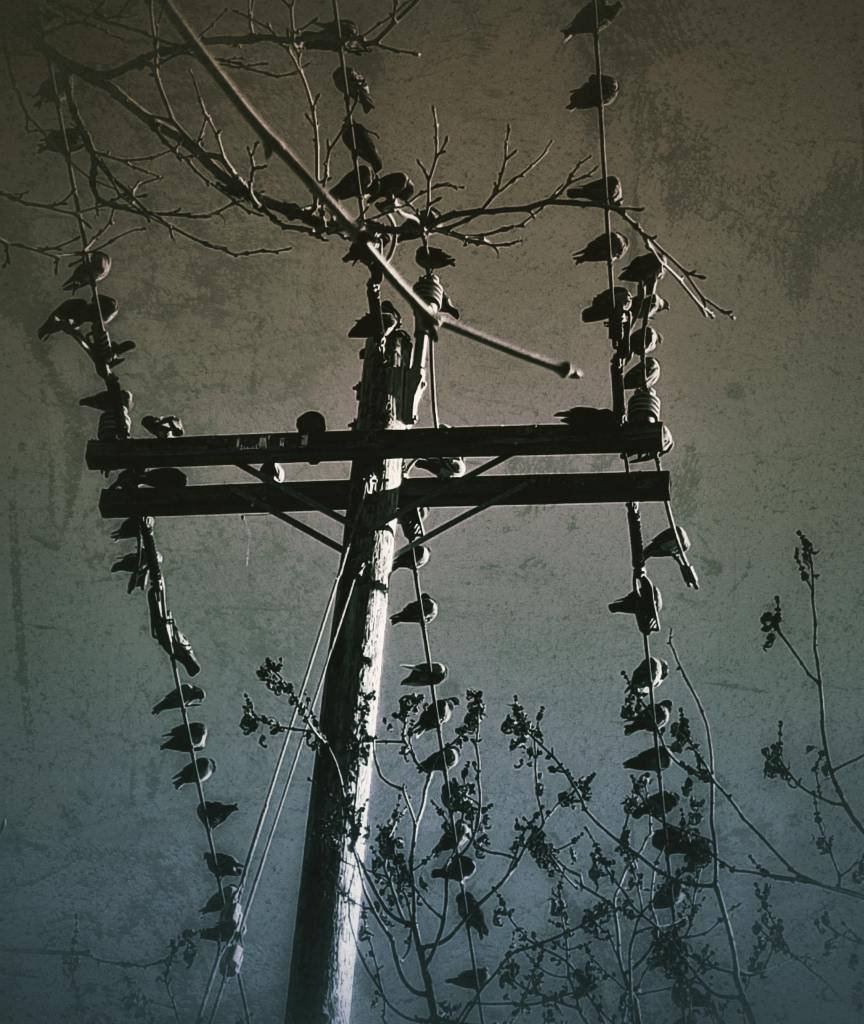
©2020 Mary Lou Fall
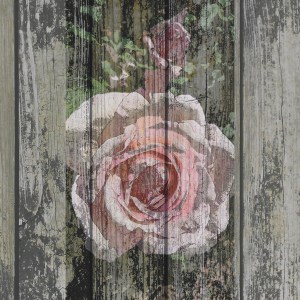
©2020 Mary Lou Fall – Rose On A Fence
Share this:

New Year, New Designs
What a way to start the New Year…New Designs featuring sticks-a-gogo Art Cloth.

Share this:

The Many Images of Art Cloth
Creating digital textile images via contemporary digital printing technology empowers me to make my own art cloth designs. Looking through the lens of my cellphone along with a gentle click of the finger, I am able to create a narrative of places, people and things I find interesting.
The ability to bring my vision to “life” from start to finish elevates my importance as a designer and a consumer. Utilizing new skills, which by the way, I’ve been taking classes using Photoshop Elements, supports my desire to create something special, a timeless unique piece of artwork. A symbiotic relationship develops between me and the image, I am emotionally attached to the cloth because it describes who I am.


To view more of my work visit https://www.spoonflower.com/profiles/sticks-a-gogo_art_cloth
Share this:

Art Cloth Abounds


All of my designs are found at https://www.spoonflower.com/profiles/sticks-a-gogo_art_cloth
Share this:

Sticks-a-GoGo Art Cloth
For a long time, I’ve wanted to combine two of my passions…photography and fabric. I’ve been fascinated with Photoshop for some time, and recently discovered a vehicle for designing fabric digitally, Spoonflower.
I started out with a picture I captured with my digital camera.
Used Photoshop for fun, and uploaded my design to Spoonflower.

I proofed the design to make sure the visual imagery was what I wanted.

I’m excited about all the creative possibilities for this fabric design with more to come. Stay tuned!
Share this:

Another Year
It’s been awhile since my last post, and I want to start the New Year with an update as to what I’ve been doing for the last few months…
I completed another fashion design course at Canada College located in Redwood City, CA., taught by Professor Ronda Chaney, and assisted by Peggy Perruccio and Kathleen Lorist. The advanced tailoring class was combined with the beginning tailoring class, a cross-section of students with an array of ability and interests, which created an environment of camaraderie. We learned from each other.

My jacket is a Vogue Pattern, which required minimal fitting adjustments by Ronda. Matching the plaid with princess seams was the main challenge. I decided to cut the sleeves and patch pockets on the bias. The fabric is vintage Linton tweed. Linton is located in the United Kingdom, and was or perhaps still is, one of the major suppliers for Chanel. I lined the jacket with a designer cut silk charmeuse purchased at Stonemountain and Daughter in Berkeley, CA. I like using piping as an accent.
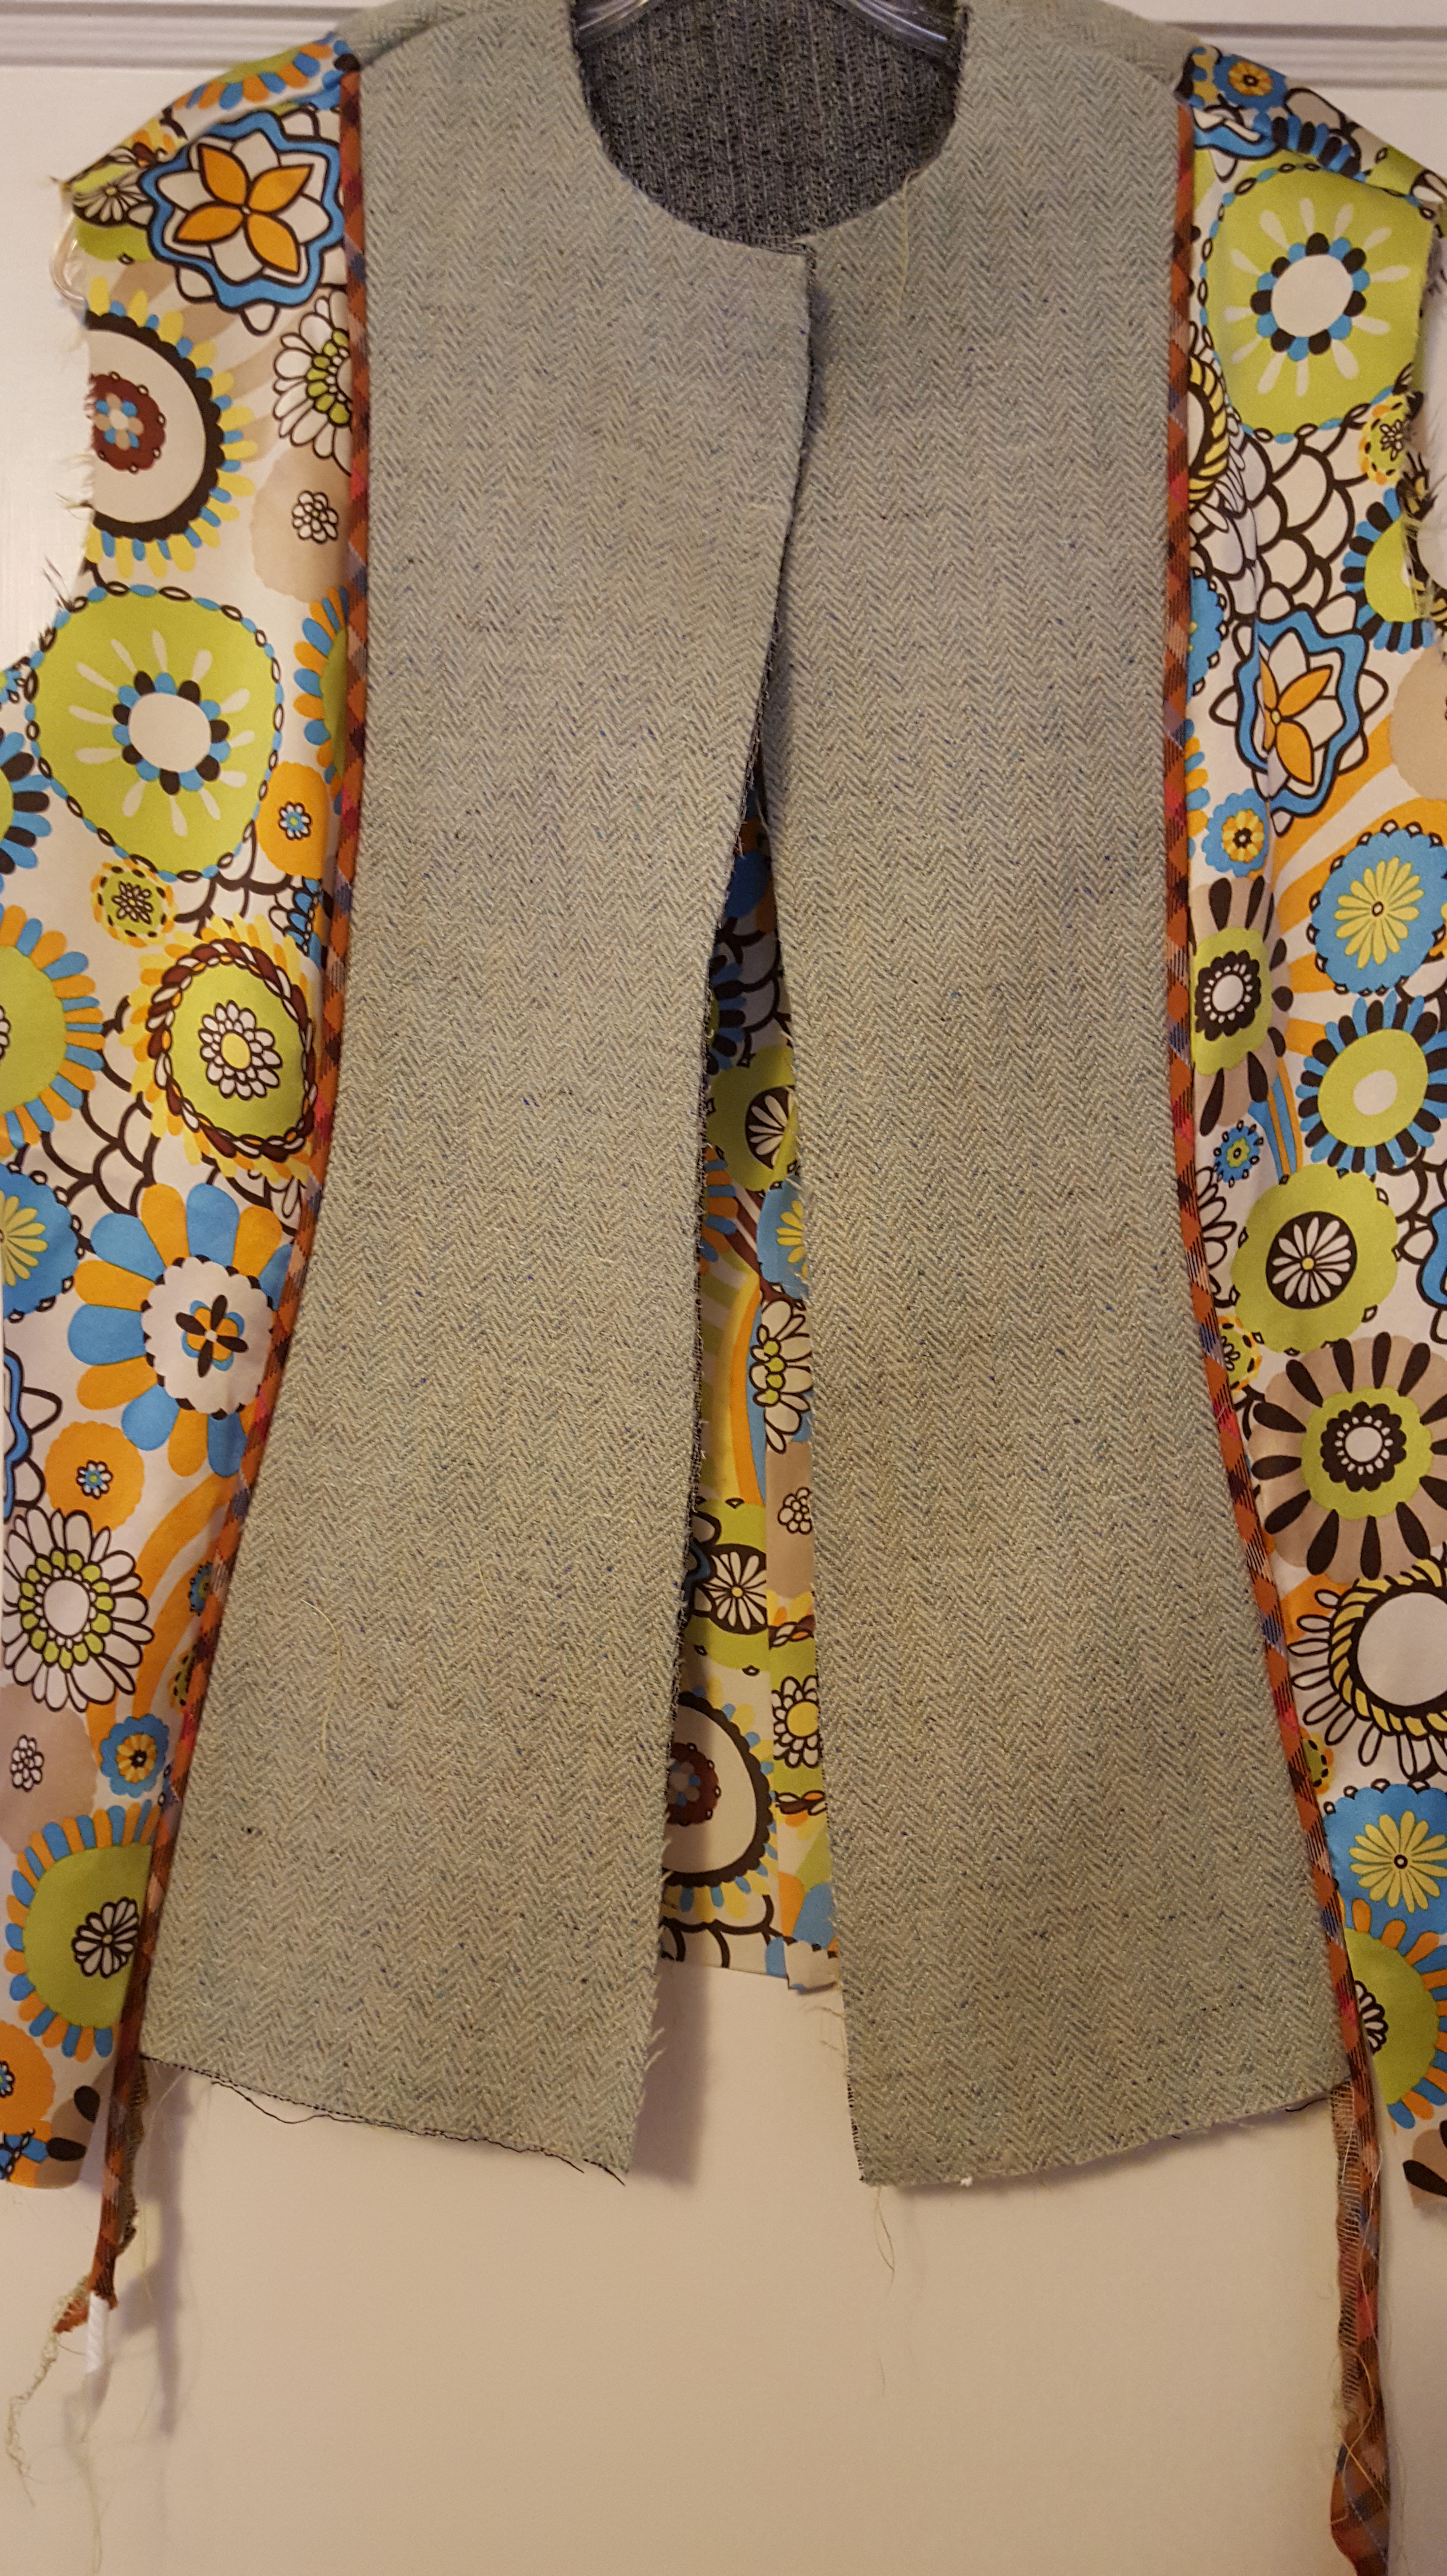
The tweed is loosely woven which created a challenge when it came to the patch pockets. Trying to get both the same size was not easy. I solved the problem by blocking both of them on the blocking board I use for knitting.

I learned many new skills in this class. Starting with shoulder pads and sleeve heads, interfacings, bound buttonhole pocket, single welt pocket, outside welt pocket, jacket notch collar, and hand stitches. I particularly like the blind catch stitch for hemming the jacket. I used a slip stitch for the patch pockets. I found using the tailor’s ham was beneficial when stitching the hem because it supported and at the same time, elevated the jacket while stitching.

I look forward to blogging with you in 2019!


You must be logged in to post a comment.