On The Grid

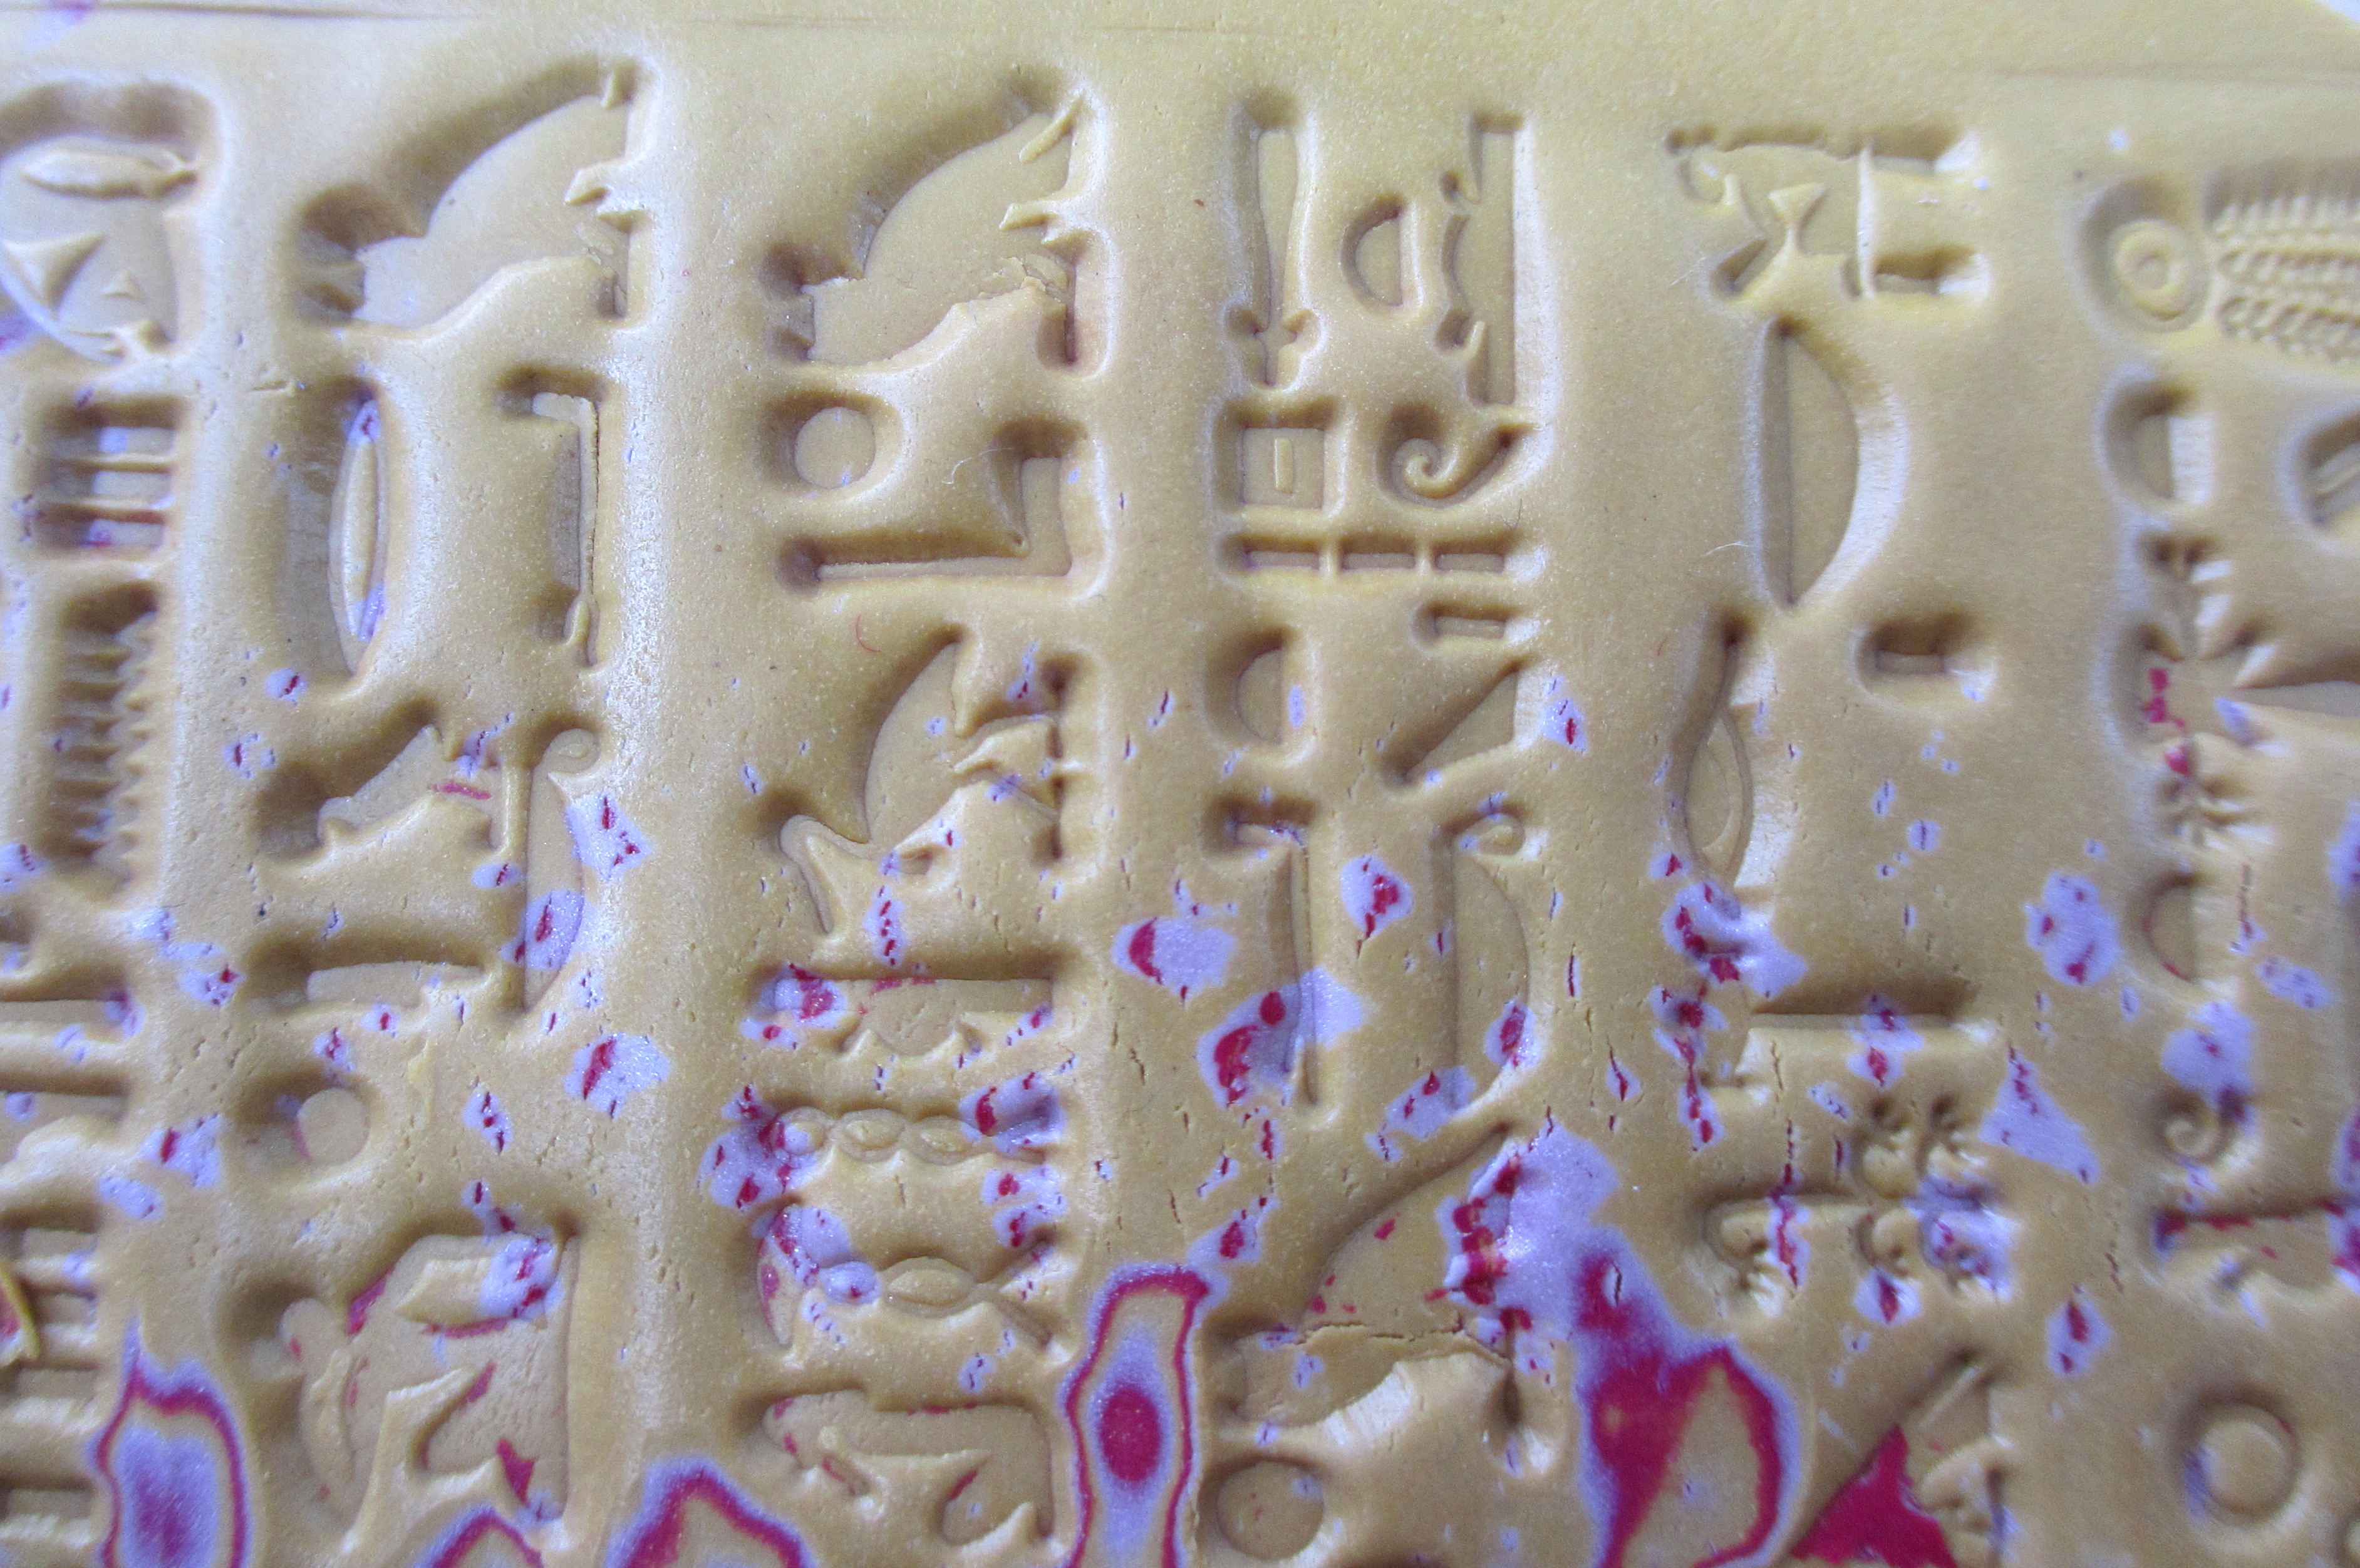
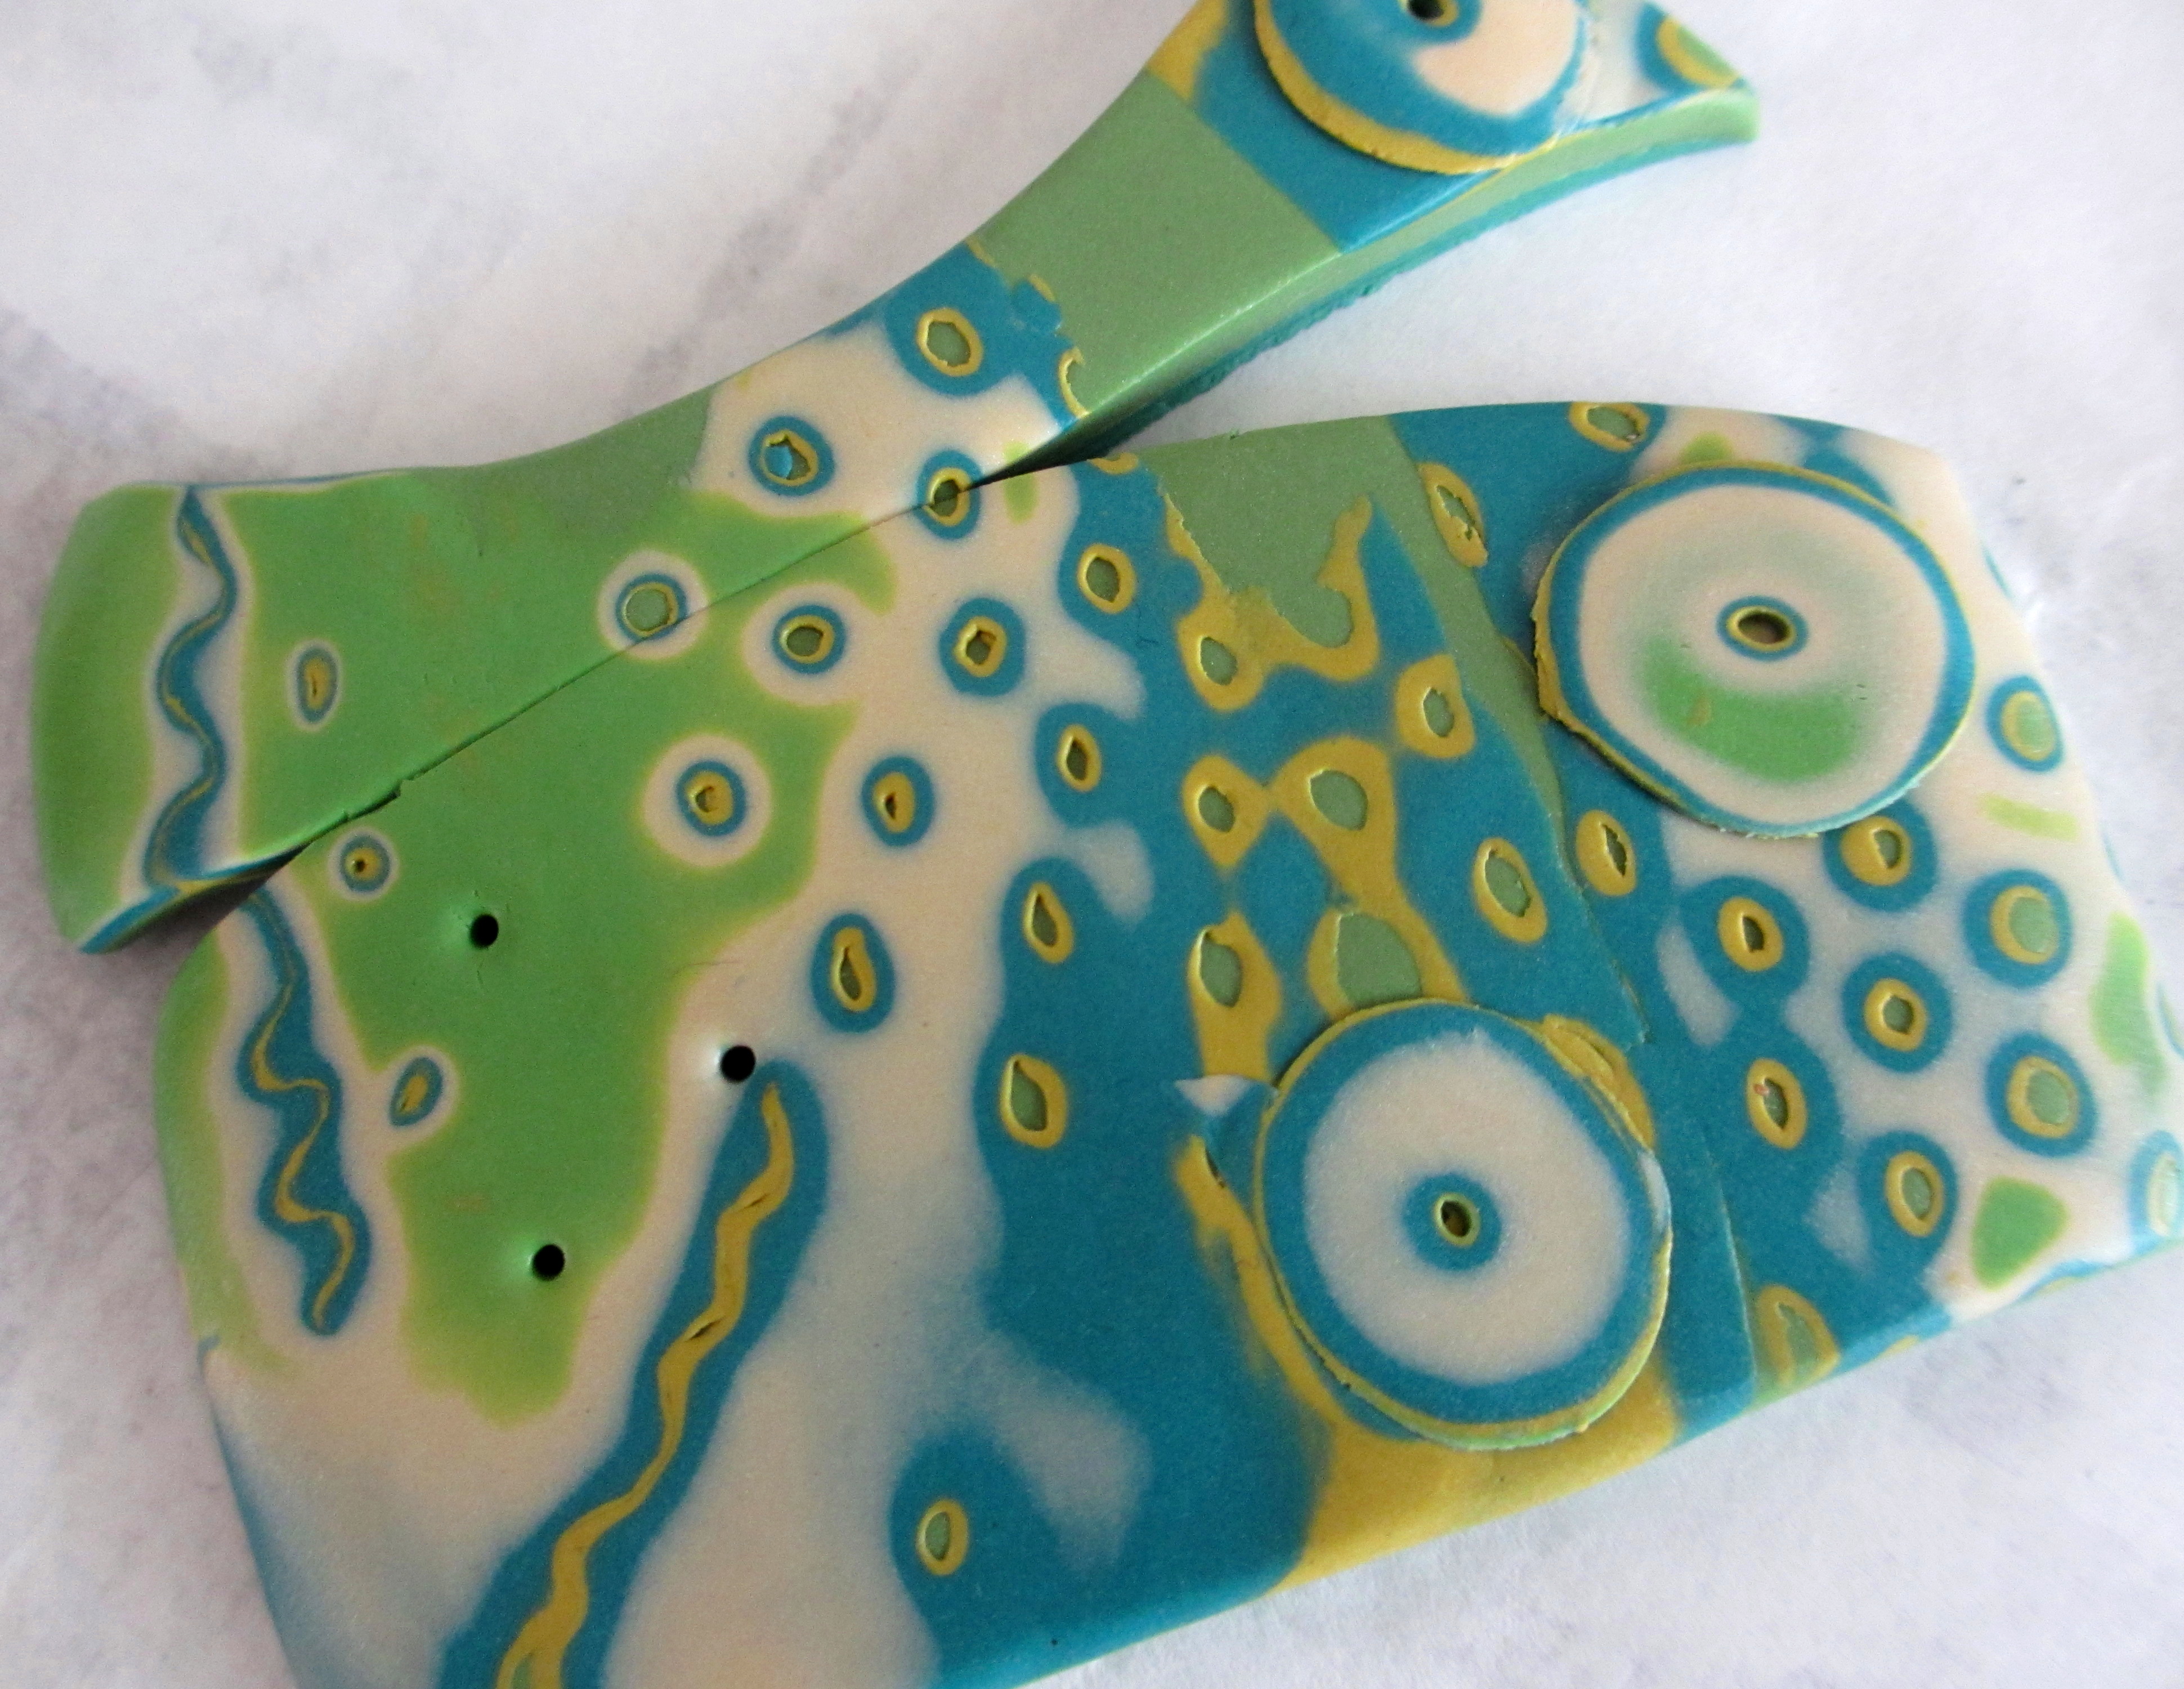
Today’s polymer clay post explores surface design.  In previous posts, I’ve discussed the ability to make impressions on a layered block of polymer clay using a variety of tools and rubber stamps.  The imprinted layers of a  block of clay is an attempt to adapt Mokume Gane or “wood grain metal” a Japanese metalworking technique.

Yesterday, I had a discussion with Andrea Chebeleu,  the owner of A Work of Heart about the experimentation process vs. producing an end product.  I believe, it’s necessary to gather a wide variety of process driven experiences, in order to develop a subconscious database of knowledge. Taking Myself To Camp (blog posts 1, 2 and 3), did just that. My plans were to adopt and adapt the various surface design techniques to polymer clay.

On The Grid #2

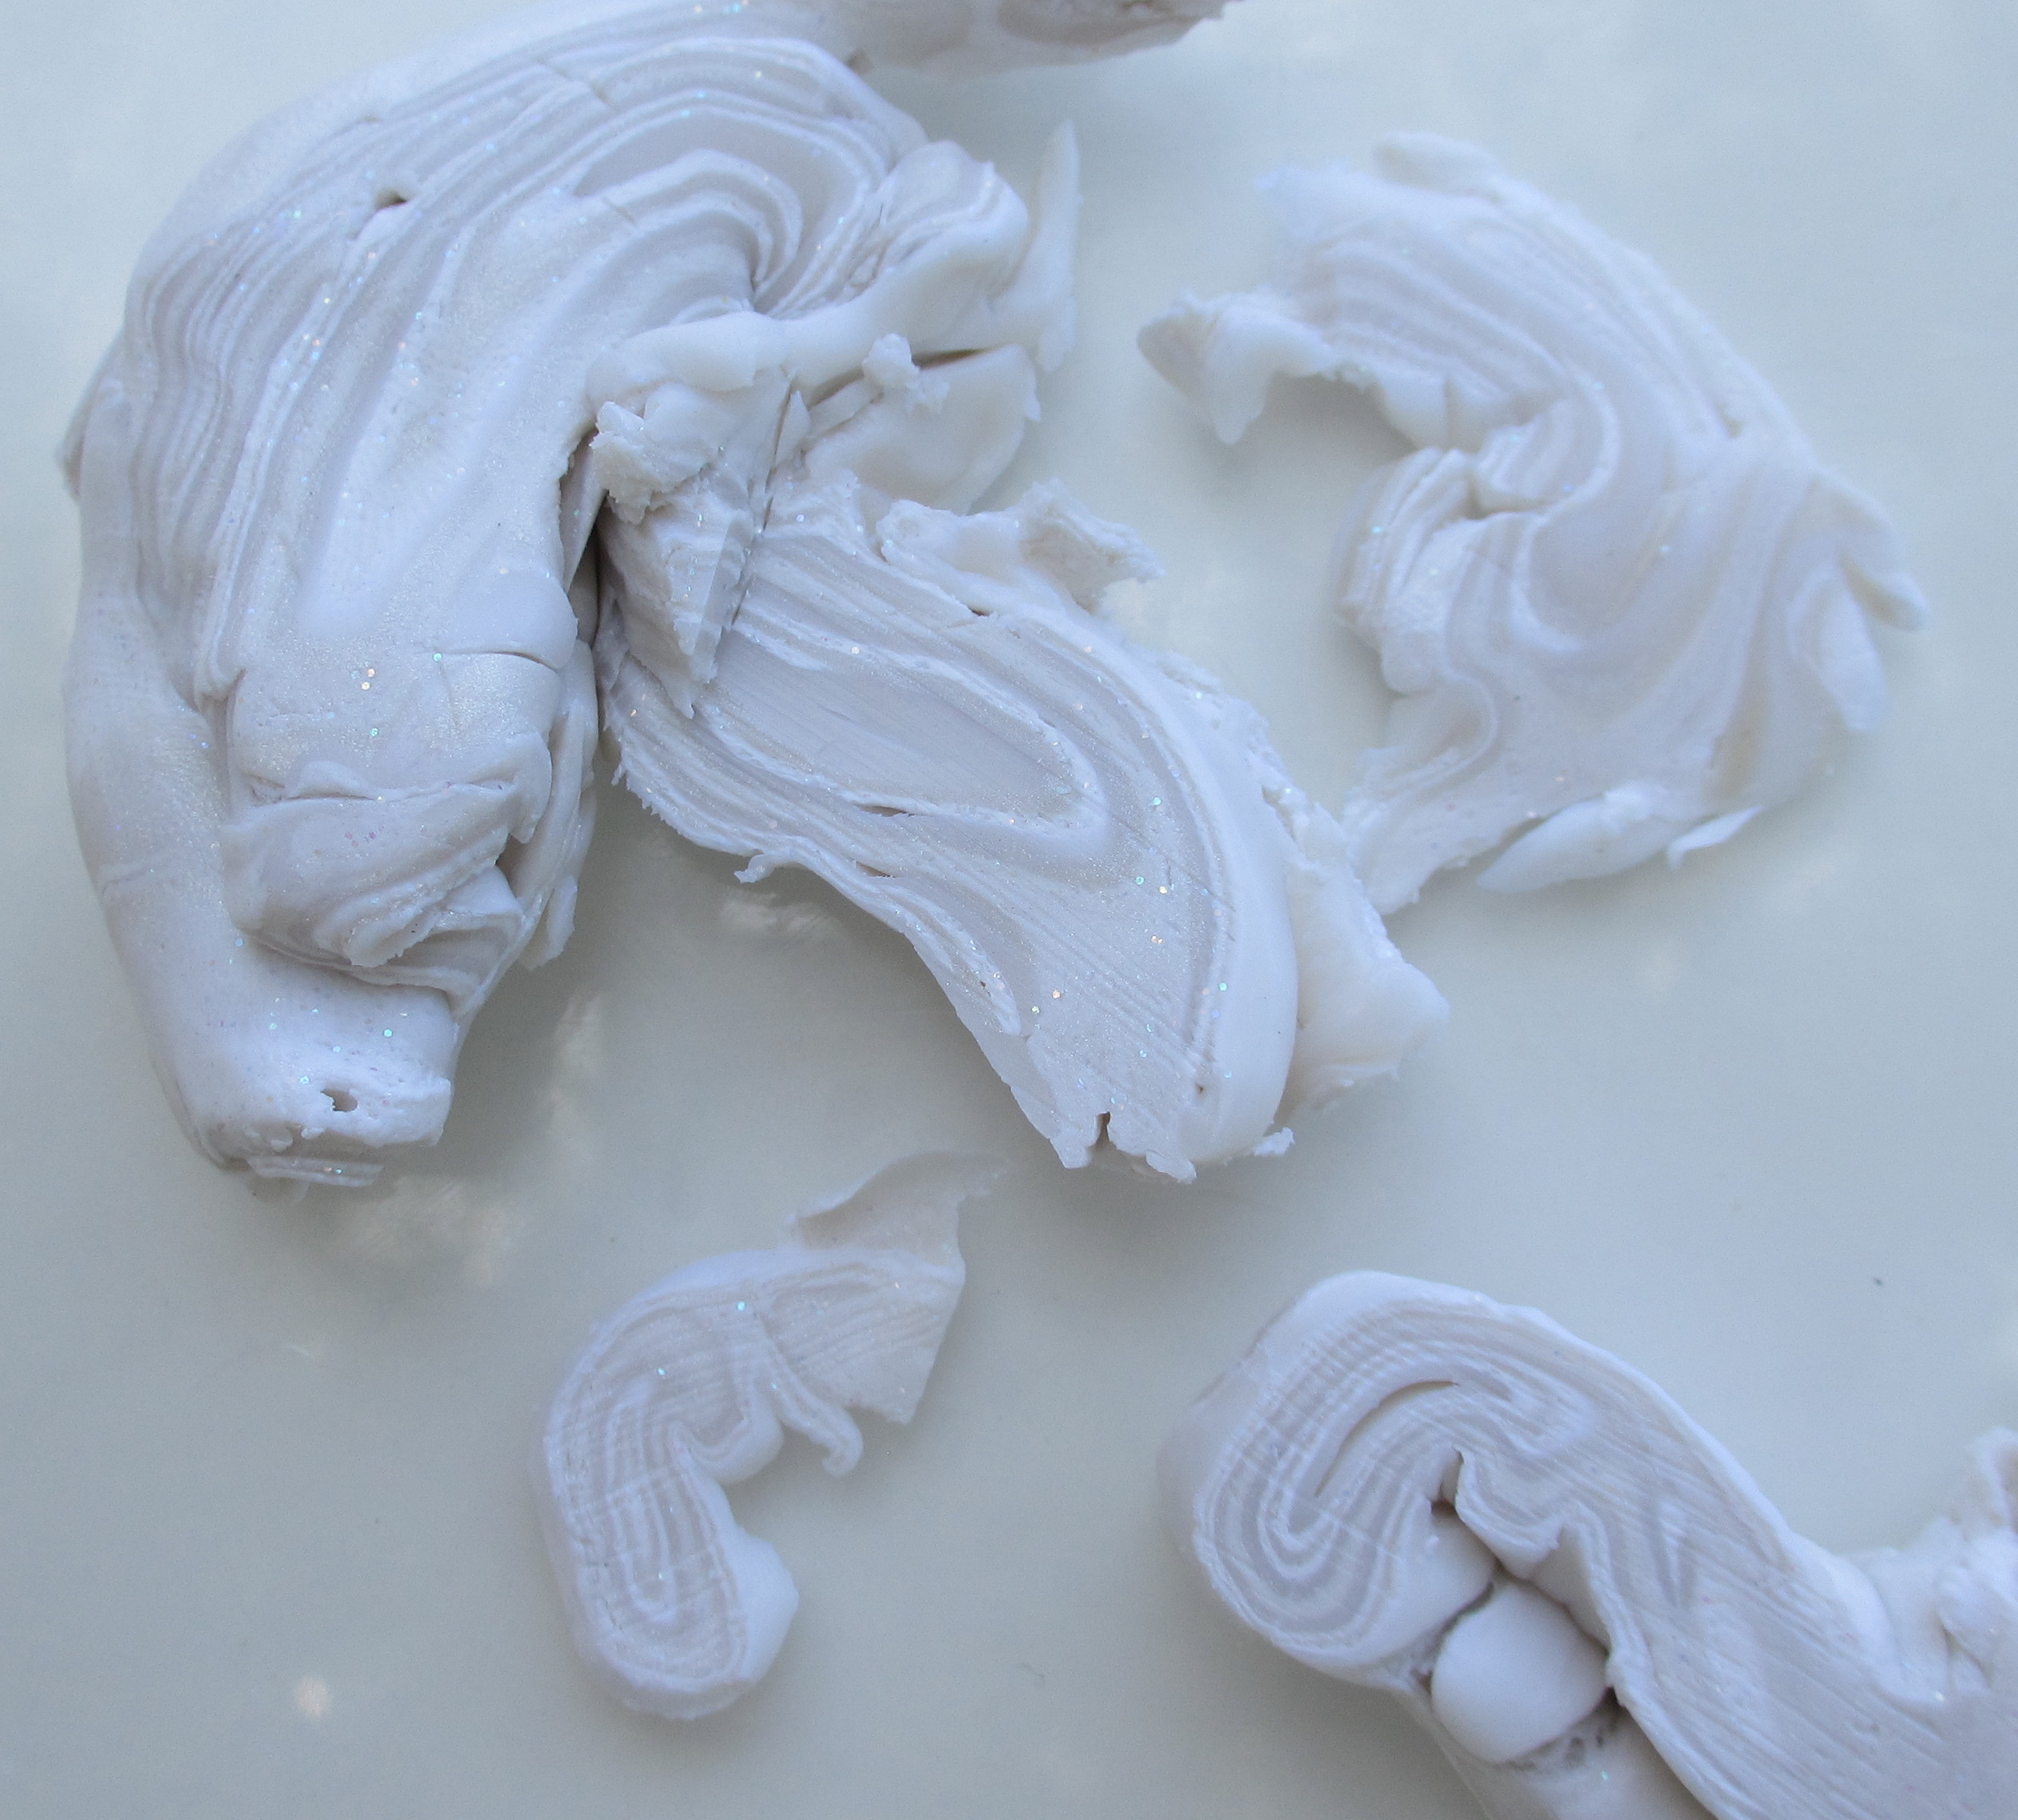
Instead of imprinting the polymer clay with tools or rubber stamps, I manipulated the clay replicating wood grain.  Sliced portions were applied to a conditioned piece of clay.

Off The Grid_1

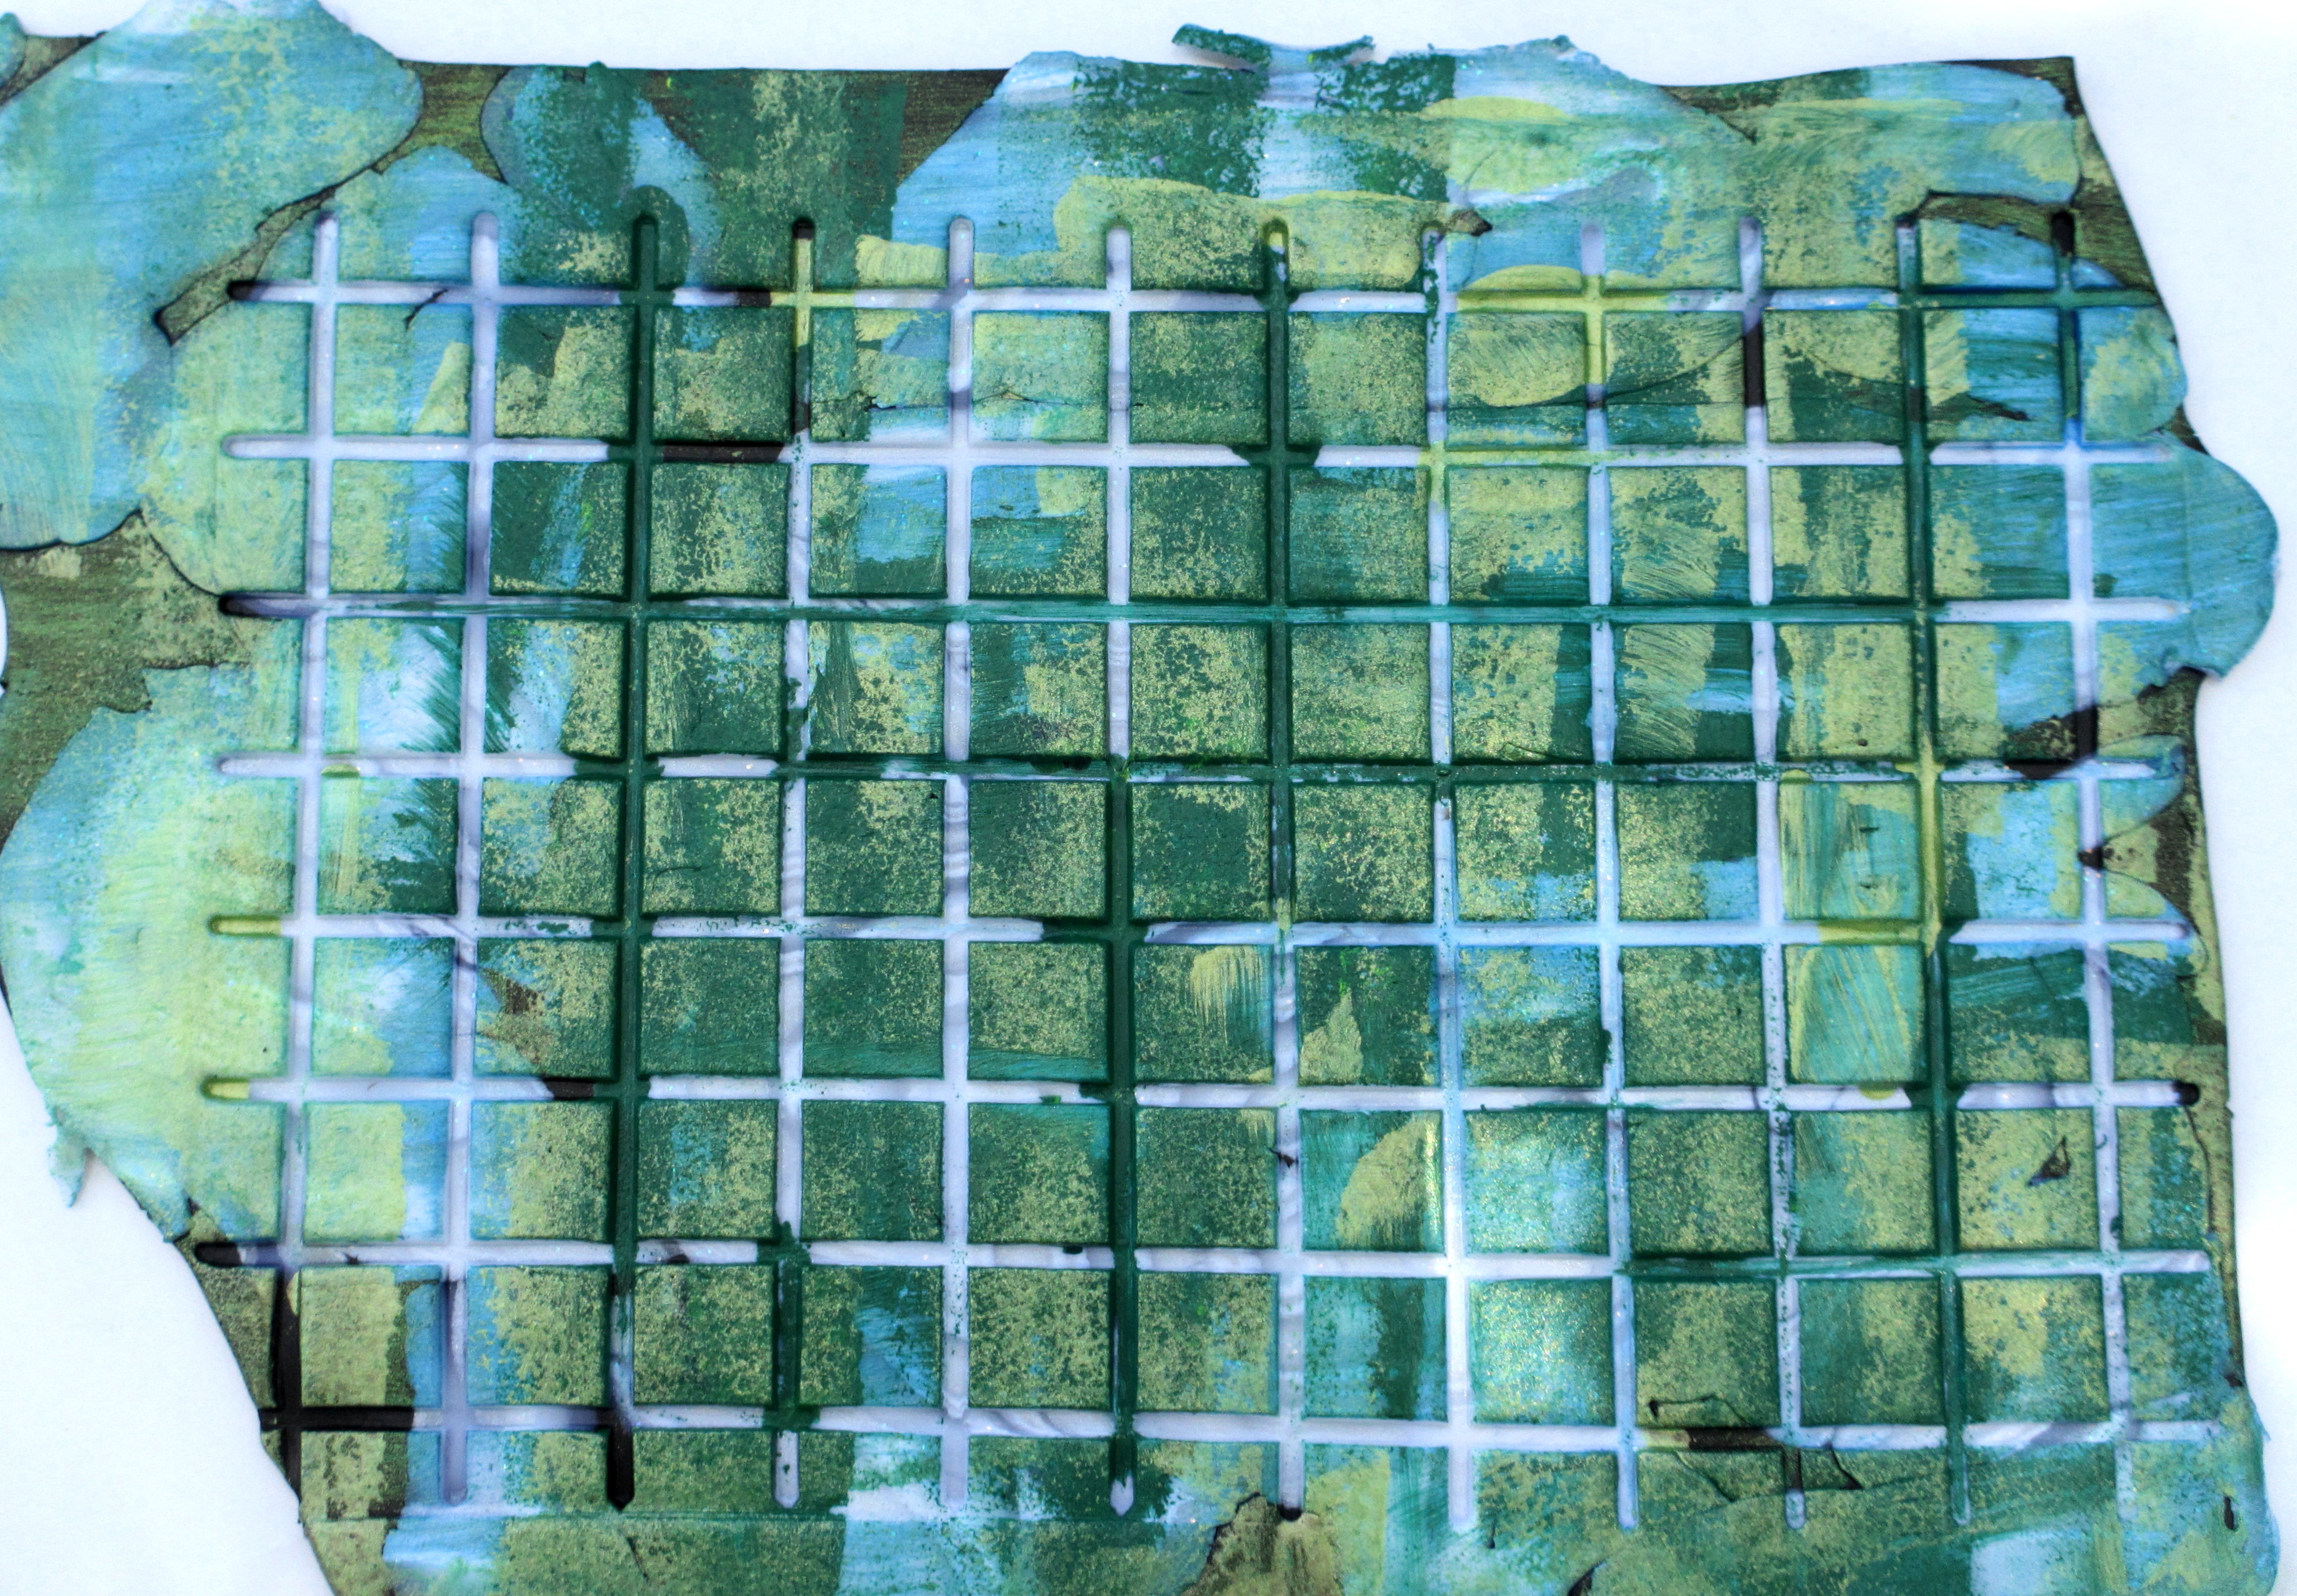
After using a texture sheet, Lumiere metallic acrylic and opaque acrylic paints an interesting textural surface appeared.  After the paint dries, something amazing will happen.

Making An Impression

Sifting through articles from my archives, I found an interesting  article written by Nan Roche.  The article from the December 1998 issue of Bead & Button, Impressed Mokume Gane, discusses making an impression in polymer clay using rubber stamps and patinas for ancient effects.  Nan Roche mentions, “I like the predictable unpredictability of the technique.”

I’ve kept the article for a time when I had the free time to explore Nan’s approach.  So, here’s my first attempt.

Making and Impression #2_1

I turned the rubber stamp upside down and placed a block of clay on top of the stamp and rolled a brayer over the block to make an impression.

IMG_4504

When carving away the polymer, it’s important to make shallow slices to reveal the patterns from the stamp.  Two types of impressions can be made revealing different results.  The typical rubber stamp has a raised pattern that will create valleys in the clay when pressed into it.  The negative image of the stamp has valleys which produces a raised image. In order to make your own negative image, press the rubber stamp in conditioned scrap clay and cure it.  Make your negative image plate from one of the strongest polymer clay, e.g. Fimo or Premo.

Making and Impression #3_1

I found the characters on the rubber stamp did not translate as well as I had hoped. Though instead of actual characters, a wood grain pattern emerged. By embellishing the   surface with additional elements, a sculptural quality to the piece emerged.

Three-Eyed Crocodile

Summer is definitely here on the West Coast.  A time when I don’t conform to a schedule or a list of “have-to’s.”  It’s a time for staying up late, sleeping in, reading, and doing whatever.  I continue to knit, but my choice of fiber changes from animal fiber to plant fiber.

Lately, I’ve been thinking about exploring polymer clay again.  In the 1990s, I sold my designs at various trade shows, local yarn stores and had a “pinch me” moment during a trunk show at Nordstrom.  How did I get the opportunity at Nordstrom?  In retrospect, I’m still amazed every time I think about it.  I walked in and basically told the jewelry rep, “I have unique objects of adornment, which you need to see.”

Time passed and my direction changed.  I found my way back.  Have I come full circle or just visiting for a moment?  Is this a Deja vu  moment?

Mokume #3_1

Using various tools imprinting designs in polymer clay replicating the Mokume Gane technique.  A technique that does not require perfection, keeping in mind the importance of negative space.

Mokume Gane #2_1Imprint designs are sliced with a blade, and applied to a polymer clay stack.

Mokume Gane #4_1

Each time I work with this medium, a surprise element appears.